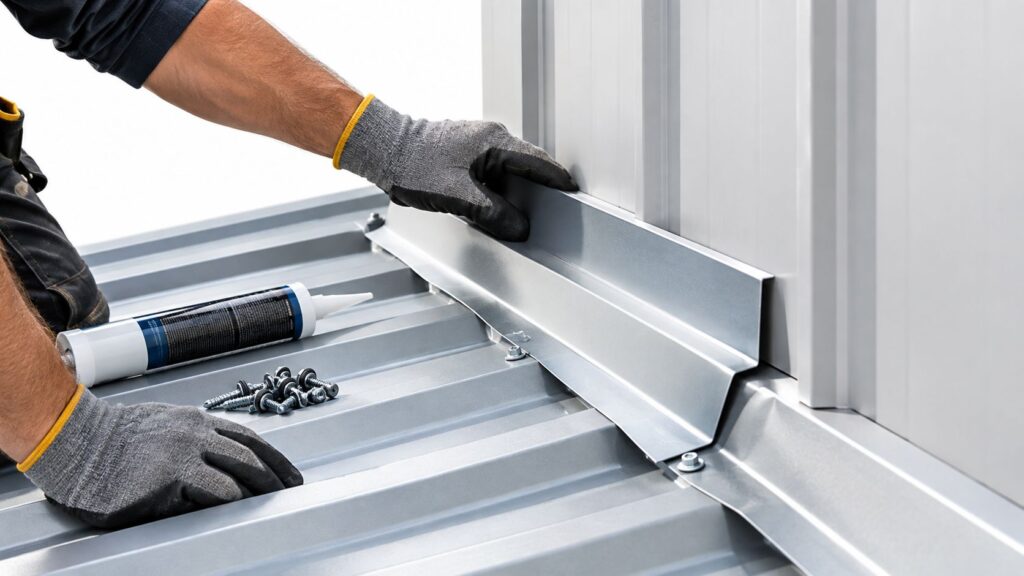
If you've ever pulled up to a house in Fort Worth, Arlington, or Forest Hill and seen water staining along the wall line, you already know the problem isn't the whole roof. It's the roof-to-wall transition, and on asphalt shingle work that detail either sheds water cleanly or becomes the callback that eats your afternoon.
In the DFW heat, sloppy flashing fails fast. Sealant gets blamed, siding gets blamed, and the underlying issue is usually the same: bad sequencing, missing membrane tie-ins, or step flashing that was never treated like a water-management system in the first place.
Table of Contents
- Why Roof-to-Wall Flashing Fails in the DFW Metroplex
- Understanding Fort Worth and DFW Code Requirements
- Installing Step Flashing the Right Way
- Integrating Counterflashing and Sealant Details
- Sourcing Materials from DFW Suppliers
- Your Inspection-Ready Flashing Checklist
Why Roof-to-Wall Flashing Fails in the DFW Metroplex
A roof leak at a wall intersection usually starts small. A homeowner in Arlington sees a stain near a bedroom wall, then the next storm pushes water deeper, and by the time the roofer gets the call, the failure has already moved past the visible shingle line. That's typical in Fort Worth, Keller, North Richland Hills, Crowley, and the rest of the Metroplex, because the wall tie-in is where roof water, siding, and fasteners all meet at once.
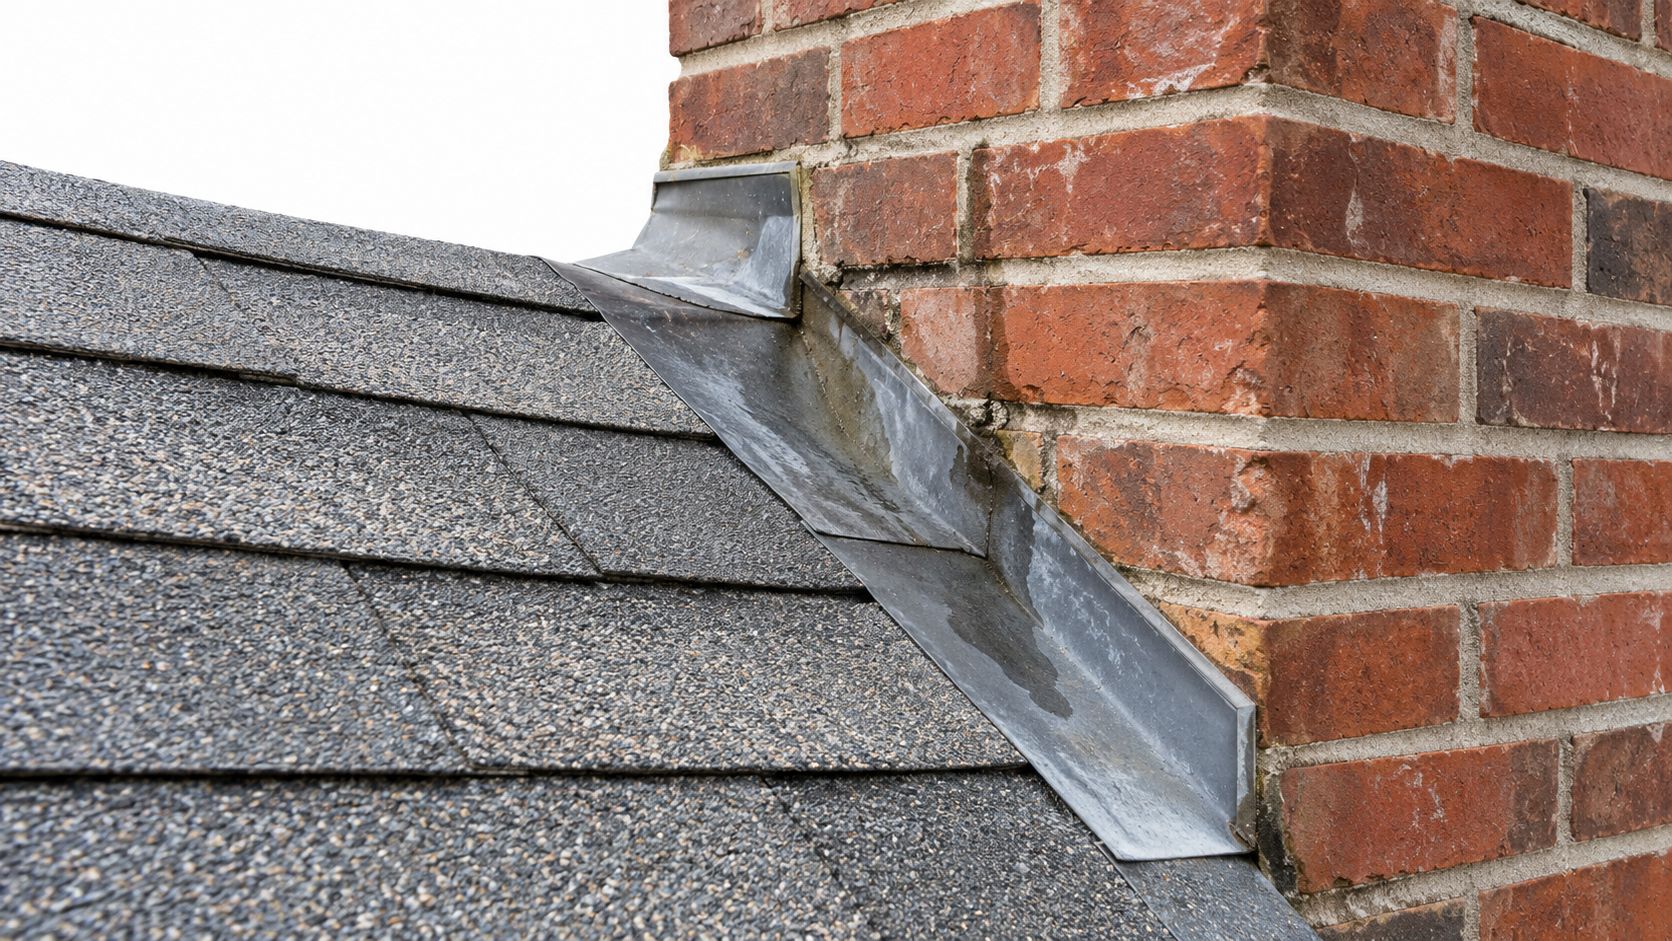
Where crews get it wrong
The most common failure isn't the metal itself. It's the order of operations. When the wall layer doesn't overlap the flashing correctly, or when the transition membrane never gets tied into the assembly, water finds the weak edge and stays there.
Practical rule: If the wall-to-roof sequence looks convenient instead of layered, it's probably wrong.
Kick-out diverters are another place jobs go sideways. At roof terminations where water needs to move away from a wall and into a gutter, leaving that piece out means runoff keeps traveling down the wall. In the DFW market, that often turns into staining, rot, or an inspection note that sends the crew back.
What the weather does to bad details
North Texas heat, UV exposure, and repeated expansion and contraction don't create a flashing failure by themselves, but they expose one fast. A detail that was only barely correct in cool weather can open up once materials move. That's why a roof-to-wall intersection can survive for a while, then suddenly start leaking after a stretch of hot days and hard rain.
The contractors who avoid callbacks treat this area like the most critical line on the roof. The ones who don't usually find out after the drywall bubbles.
Understanding Fort Worth and DFW Code Requirements
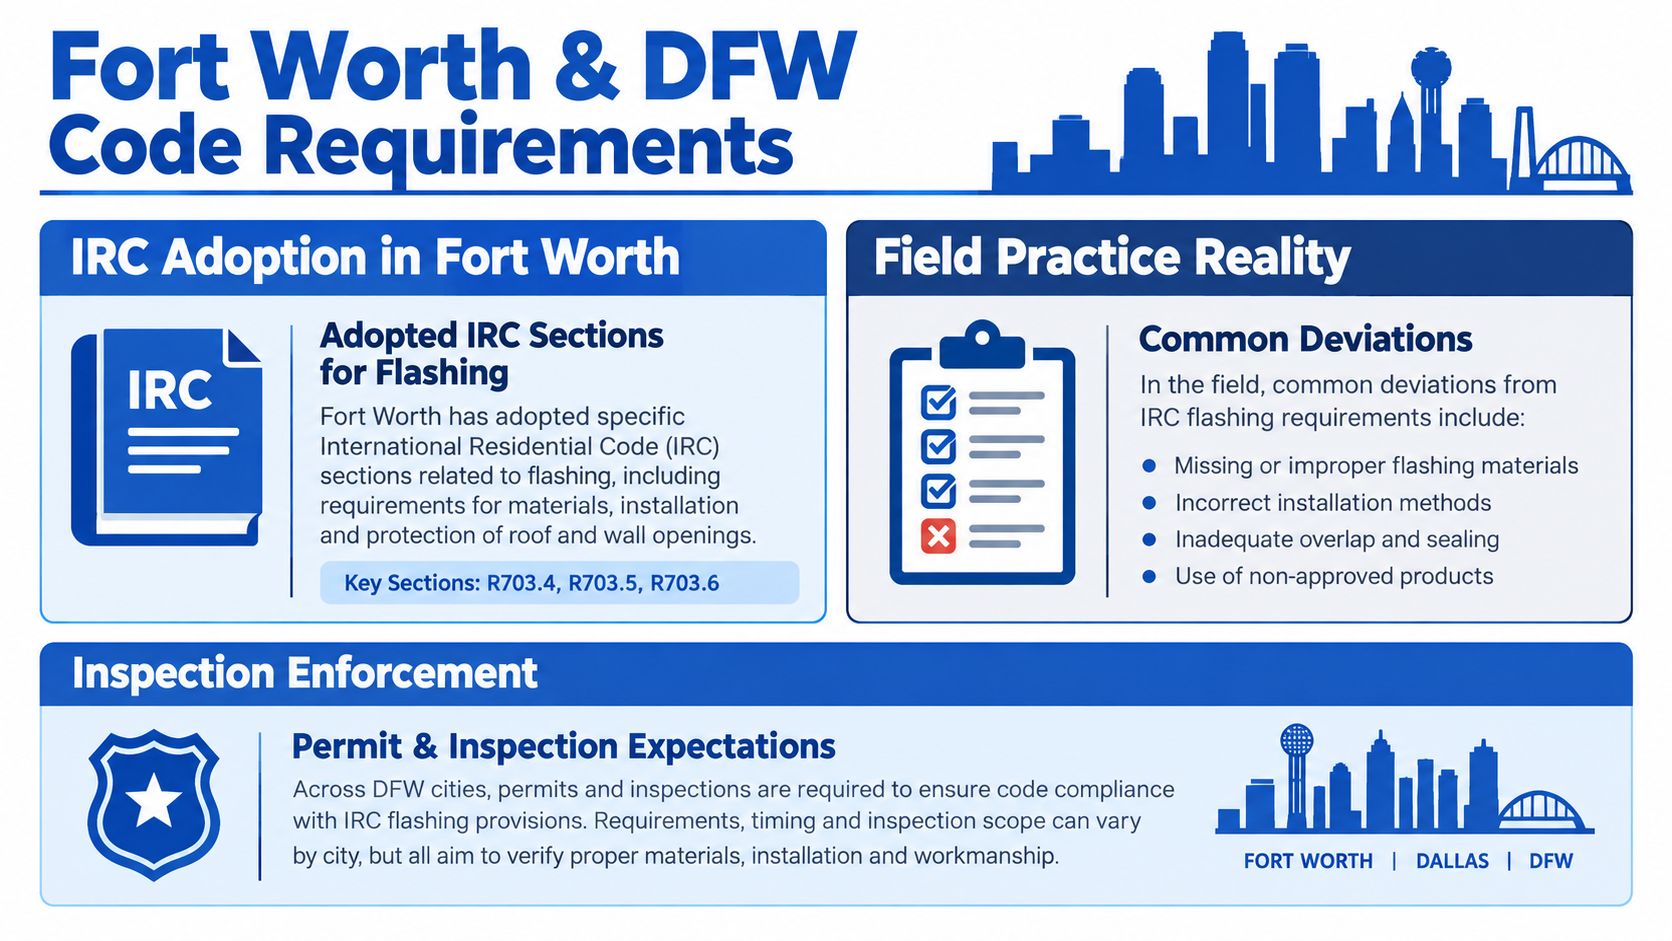
A roof-to-wall detail in Fort Worth is an inspection item, not a cosmetic one. For asphalt shingle roofs meeting a vertical wall, the adopted code calls for continuous or step flashing that measures at least 4 inches high and 4 inches wide, and it must carry water away from the wall and onto the roof or into the gutter, as set out in the Fort Worth Chapter 9 roof assembly requirements (Fort Worth IRC Chapter 9 roof assembly requirements).
That minimum sets the line for permit-ready work across Fort Worth and nearby DFW cities like Arlington, Keller, North Richland Hills, and Crowley. If the vertical leg comes up short, the horizontal leg does not reach, or the flashing is left exposed where siding should cover it, the assembly reads as a field fix instead of compliant work.
Why the code keeps repeating this detail
The Building America Solution Center notes that step flashing and kick-out diverters were already required in the 2009 and 2012 IRC, and the requirement continued through the 2015 and 2018 IRC editions (Building America roof-wall flashing guidance). That history says the rule stayed because wall intersections kept failing. Crews in the Metroplex still see the same problems when water gets past the wall layer and into the structure.
On existing homes, the guidance says installers need enough tear-off to expose the wall layer, then they have to tie in the transition membrane before the step flashing and kick-out flashing go in. That sequence gets rushed all the time, especially when a repair is being squeezed between rain chances and a tight schedule. If the underlayment is being replaced too, use a compatible asphalt shingle underlayment that matches the roof assembly and lets the layers lap the right way.
What inspectors are really checking
Inspectors are checking whether the assembly sheds water in layers. The flashing has to sit under the wall finish where siding is present, the membrane has to connect to the roof drainage path, and runoff has to move away from the wall instead of sitting against it.
For crews working across Tarrant County, the minimum dimensions are only the starting point. They tell you the detail is sized right. They do not excuse poor sequencing, exposed edges, or a missing tie-in at the wall.
Installing Step Flashing the Right Way
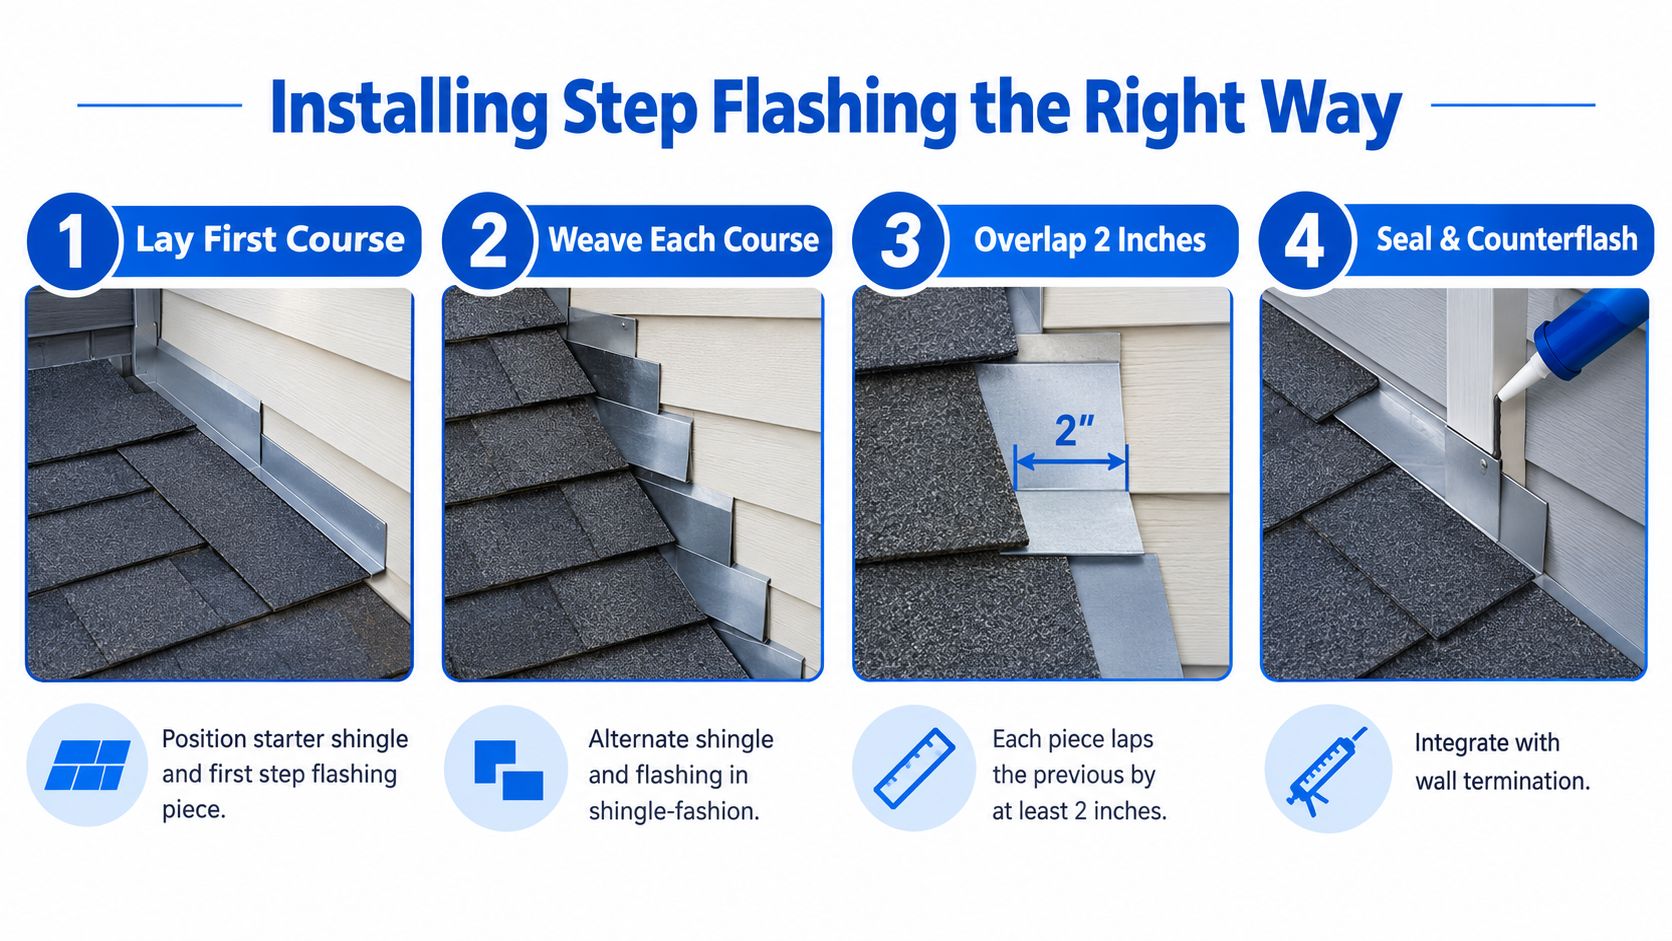
A tight roof-to-wall joint starts with the first course, and it fails fast when the sequence is wrong. Set the shingle course to the wall, place the first flashing piece, then let each new shingle course overlap its own piece so water always has a clear path down and out.
In practice, I look for a piece that is at least 10 inches long, bent into two 5-inch legs so roughly 5 inches covers the roof deck and 5 inches rises up the wall. IRC-based guidance also sets the baseline at 4 inches up the wall and 4 inches onto the roof deck, so a short piece is a warning sign, not a detail to ignore (IKO roof flashing installation guidance).
Never nail the vertical leg to the wall. Fasten only the roof deck portion so the metal can move without buckling.
That rule keeps the flashing from fighting wall movement. If the vertical leg gets nailed, the metal bows, the lap opens, and the joint starts to fail. In DFW heat, that movement shows up early.
The sequence that actually works
Start with the shingle course at the wall, then place the flashing so the next shingle covers the previous piece. Keep every lap consistent and make sure each piece sheds onto the one below it. That shingle-fashion pattern is what turns separate pieces into a drainage path.
The roof underlayment should continue up the wall in retrofit work, with flashing details matched to the profile as shown for roof flashing for corrugated roofing. The wall layer has to overlap the flashing above it. The Building America guidance ties that to an 8-inch sidewall wrap for the underlayment and a transition membrane that reaches above the future step flashing, so the water path stays continuous.
A jobsite check that saves time
If you can lift the edge and see a gap where the metal should have been overlapped, fix it before the wall goes back on. That is where most callbacks start.
A clean step-flashing install should look boring. Boring means layered, tight, and predictable.
Integrating Counterflashing and Sealant Details
Step flashing handles the roof side of the joint. Counterflashing handles the wall side, and if that part is sloppy, the whole assembly is exposed even when the shingles look clean.
On masonry, the flashing should be set into a mortar joint or a chased joint, not left sitting on the surface where water can work behind it. In Fort Worth, Everman, or Forest Hill, that detail matters because brick walls take wind-driven rain on the face, and exposed edges are where weak repairs start to peel back.
Siding and masonry need different terminations
Where siding is present, the vertical leg has to run beneath it. That keeps the flashing tied into the wall assembly instead of leaving a loose edge that can lift, trap water, or telegraph through the finish.
On masonry, the termination has to respect the wall face and still let the flashing drain. The direction is simple, water should move away from the wall and onto the roof or into the gutter, per the Fort Worth code requirements detailed above. If the water path is hard to read from the way the detail is built, the job is not ready.
Sealant is support, not the system
Some manufacturer details call for a 3-inch-wide bead of asphalt plastic cement at the overlap, and two nails only in the roof deck portion, per the IKO installation guidance cited in the previous section. That is acceptable when it supports the assembly. It fails when sealant is doing the work that flashing should do.
Sealant belongs at overlaps and terminations. It does not replace proper flashing geometry.
I have seen jobs in Arlington where the flashing was there, but the wall termination was loose and the sealant was carrying the load. From the ground, the roof looked fine. It failed after the first real stretch of weather because the termination never had a mechanical path to shed water.
For contractors, the right approach is straightforward. Build the layer, then seal the edge. Do not make sealant act like flashing.
Sourcing Materials from DFW Suppliers
Material choice affects whether the install goes smoothly or turns into a fit-up problem on the roof. If the flashing stock doesn't match the wall profile, the crew wastes time bending, trimming, and trying to force a detail that should've been right from the start.
That's why local supply matters in the Metroplex. A DFW distributor like Blue Lake Roofing Supply stocks installer-grade roofing materials and jobsite delivery across Fort Worth, Forest Hill, Arlington, and surrounding cities, which helps crews keep the right underlayment, flashing, and accessories on site when the wall detail can't wait. Same-day fulfillment on orders placed by noon and trade account support are practical advantages on multi-stop repair and replacement work.
What to verify before the crew leaves the yard
Make sure the flashing stock supports the code dimensions you're building to. If the piece won't give you the required wall height, roof leg, and proper overlap, it's the wrong material for the job.
Use the supplier's underlayment and accessory pages to match the job to the wall condition, including membrane wrap and roof-edge details like the ones listed for asphalt shingle underlayment and guttering and related drainage materials. That matters because roof-wall flashing only works when the water has a clean exit path beyond the wall line.
Why this becomes a margin issue
When crews have to remake parts on site, time disappears fast. A cleanly stocked truck means fewer field cuts, fewer return trips, and fewer calls from the superintendent asking why the wall detail isn't closed in yet.
The right supplier doesn't just drop metal. It helps keep the installation sequence intact.
Your Inspection-Ready Flashing Checklist
Before you call a wall tie-in complete in Fort Worth, Arlington, Keller, or anywhere in Tarrant County, inspect it the way the city will. The field check is simple: look for the required 4-inch by 4-inch flashing geometry, the right overlap sequence, and a vertical leg that stays un-nailed and flat where step flashing is used (see Fort Worth code requirements above).
What to verify on the roof
- Flashing dimensions: Confirm the wall leg and roof leg both meet the minimum baseline. Do not trust the view from the ladder.
- Overlap sequence: Each piece should lap the one below it shingle-style so water keeps moving downhill.
- Fastener placement: Keep nails out of the vertical leg so the metal can move without distortion.
- Wall integration: Make sure siding covers the vertical leg where it should, or the masonry termination is set correctly.
What usually fails in DFW inspections
The usual misses are exposed edges, incomplete wall tie-ins, and kick-out details that were left off at the termination point. The Building America guidance keeps pointing to step flashings and kick-out diverters as part of the required roof-wall approach across multiple IRC cycles, which is why inspectors still look for them (see Building America guidance cited above).
If the transition membrane stops short, the wall layer is exposed, or the kick-out is missing, fix it before the inspector gets there.
I also photograph the tie-in before siding or trim goes back on. That record shows the layering, and it avoids arguments later when someone says the detail was built right but the wall is already closed.
A roof-to-wall flashing job in DFW should pass because it sheds water correctly. It should not depend on caulk holding a weak detail together.