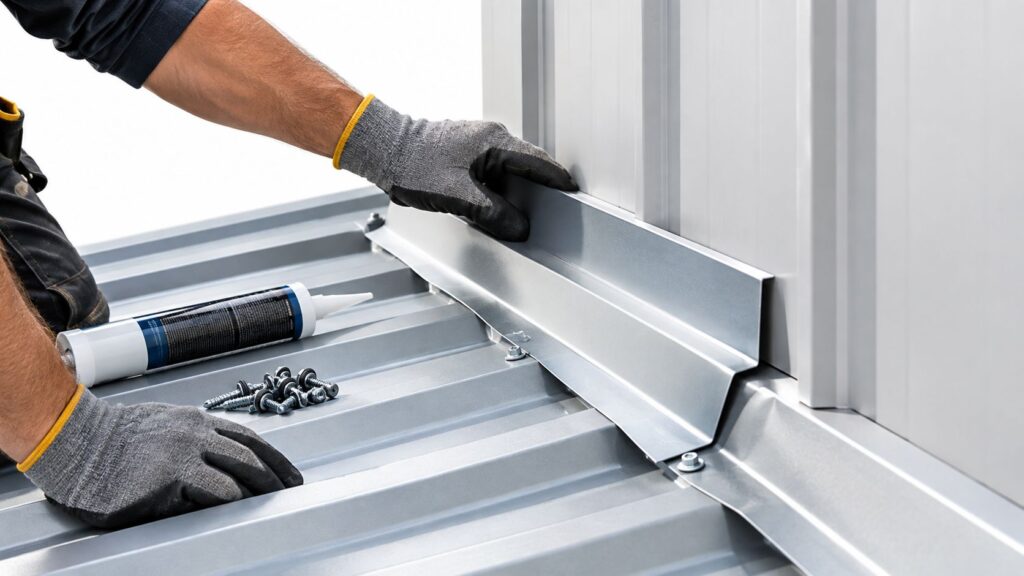
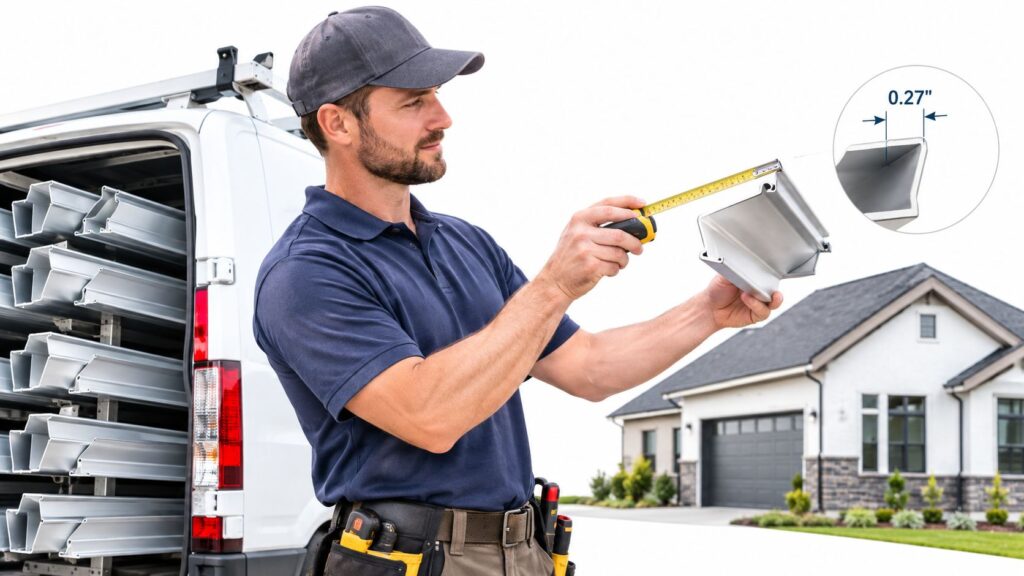
Cut on the ground with hand snips, electric shears, or a nibbler, never with a circular saw or torch, because heat and filings can ruin the finish and set you up for premature rust. That's the rule I'd hand a crew at 6 a.m. in the Forest Hill yard before a panel ever leaves the rack.
You can save a minute on the cut and lose the job on the finish. On DFW reroofs, the mistake usually isn't the measurement, it's cutting the wrong end, throwing hot filings across a painted surface, or leaving burrs and swarf in the ribs where nobody sees them until rust shows up later.
Table of Contents
- Why Cutting Method Determines Your Panel Warranty
- PPE and Layout Before You Make Any Cut
- Cold-Cutting Procedure for Clean Factory-Finish Panels
- Choosing Hand Snips, Electric Shears, or a Nibbler
- Finishing the Cut Without Destroying the Coating
- Common Questions from DFW Roofing Contractors
Why Cutting Method Determines Your Panel Warranty
A crew in Fort Worth can make the cut fast and still ruin the warranty before the first fastener goes in. The factory-formed locking edge is not scrap. It is the part that lets the panel engage the next one and tie into the drip edge the way the system was built to work. Construction specifications commonly direct installers to remove material from the top end and cut downward toward the preformed bend, because cutting the wrong end can damage the interlock, create fit-up problems, and weaken weather resistance industry specification guidance.
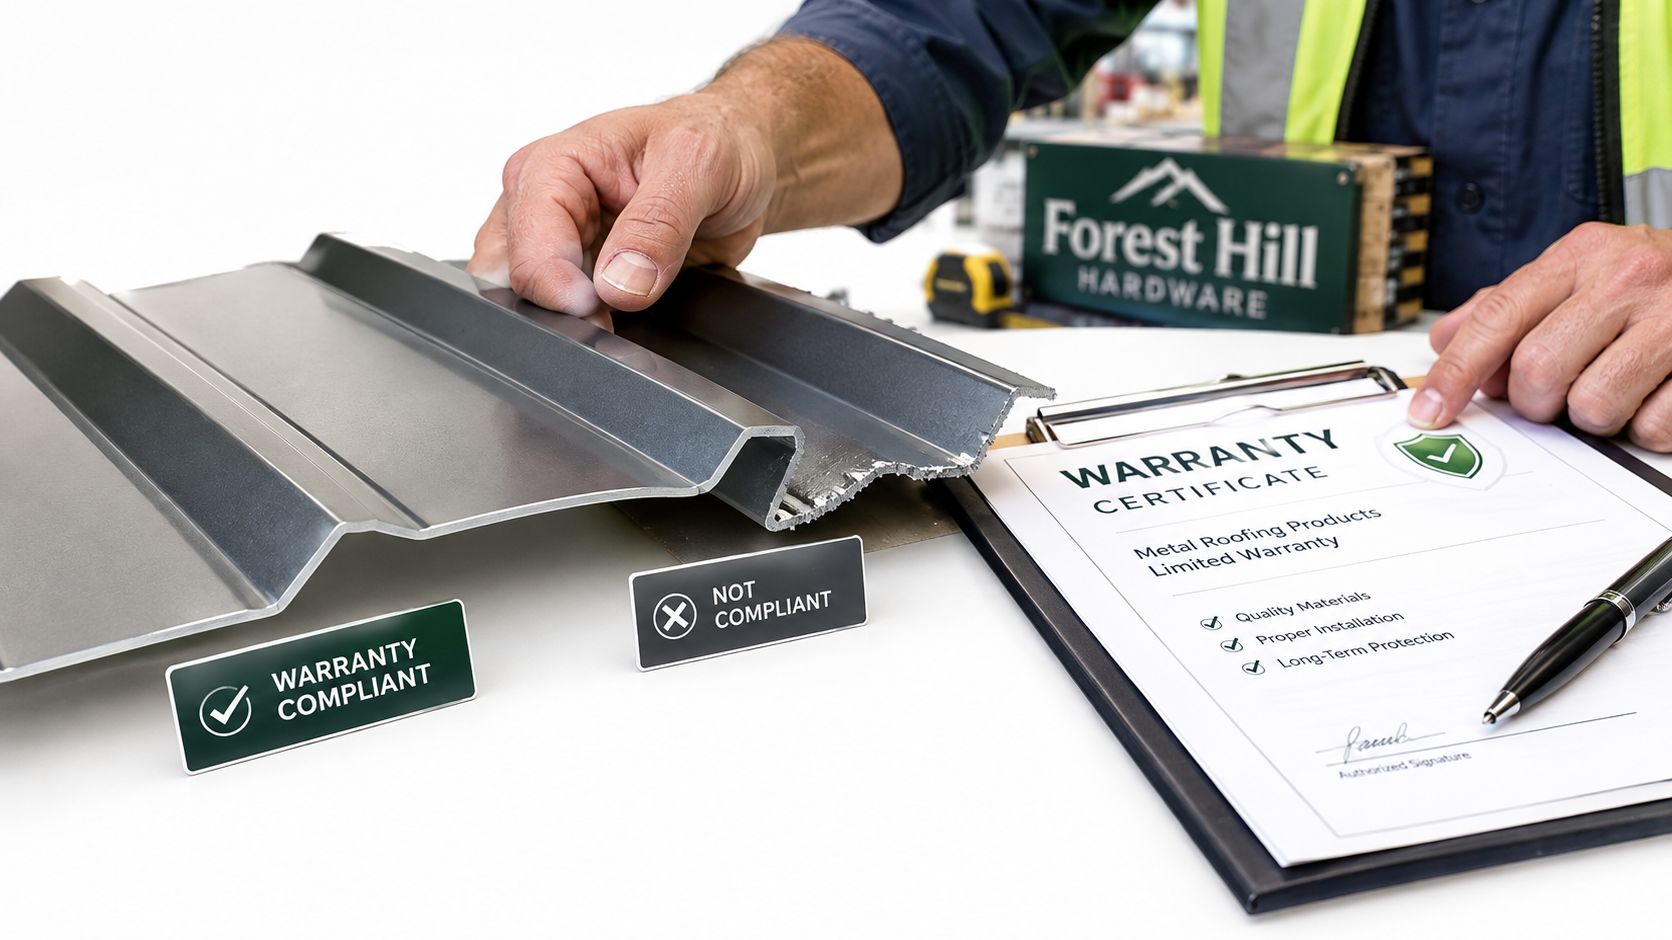
The edge you keep matters more than the edge you trim
Standing-seam and profiled panels do not forgive sloppy sequencing. The panel should be fully engaged with the adjacent panel before fastening, and a rubber mallet is sometimes needed to seat the lock, because a panel that is not seated right can look fine from the ground and still be wrong at the seam specification guidance. If the lock geometry is off, you are fighting water entry and callbacks, not just appearance.
That is why the quickest-looking tool is not always the right tool. Manufacturer guidance and field specs consistently steer installers away from circular saws, angle grinders, reciprocating saws, torches, and plasma cutters for finished roofing panels, because heat and abrasive particles can damage the coating and leave hot metal embedded on the surface approved cutting guidance. The practical takeaway is blunt. A clean-looking edge can still fail inspection if it is the wrong edge or if filings are still stuck in the finish.
If you are sourcing standing-seam materials for a DFW job, keep the system details in front of you, not just the panel count. Standing seam metal roofing options need the same respect at the cut line as they do at the seam. If you are comparing zinc metal roofing panels, read the lock profile and finish notes before anyone starts trimming.
Practical rule: If the cut changes the lock, the panel is compromised.
PPE and Layout Before You Make Any Cut
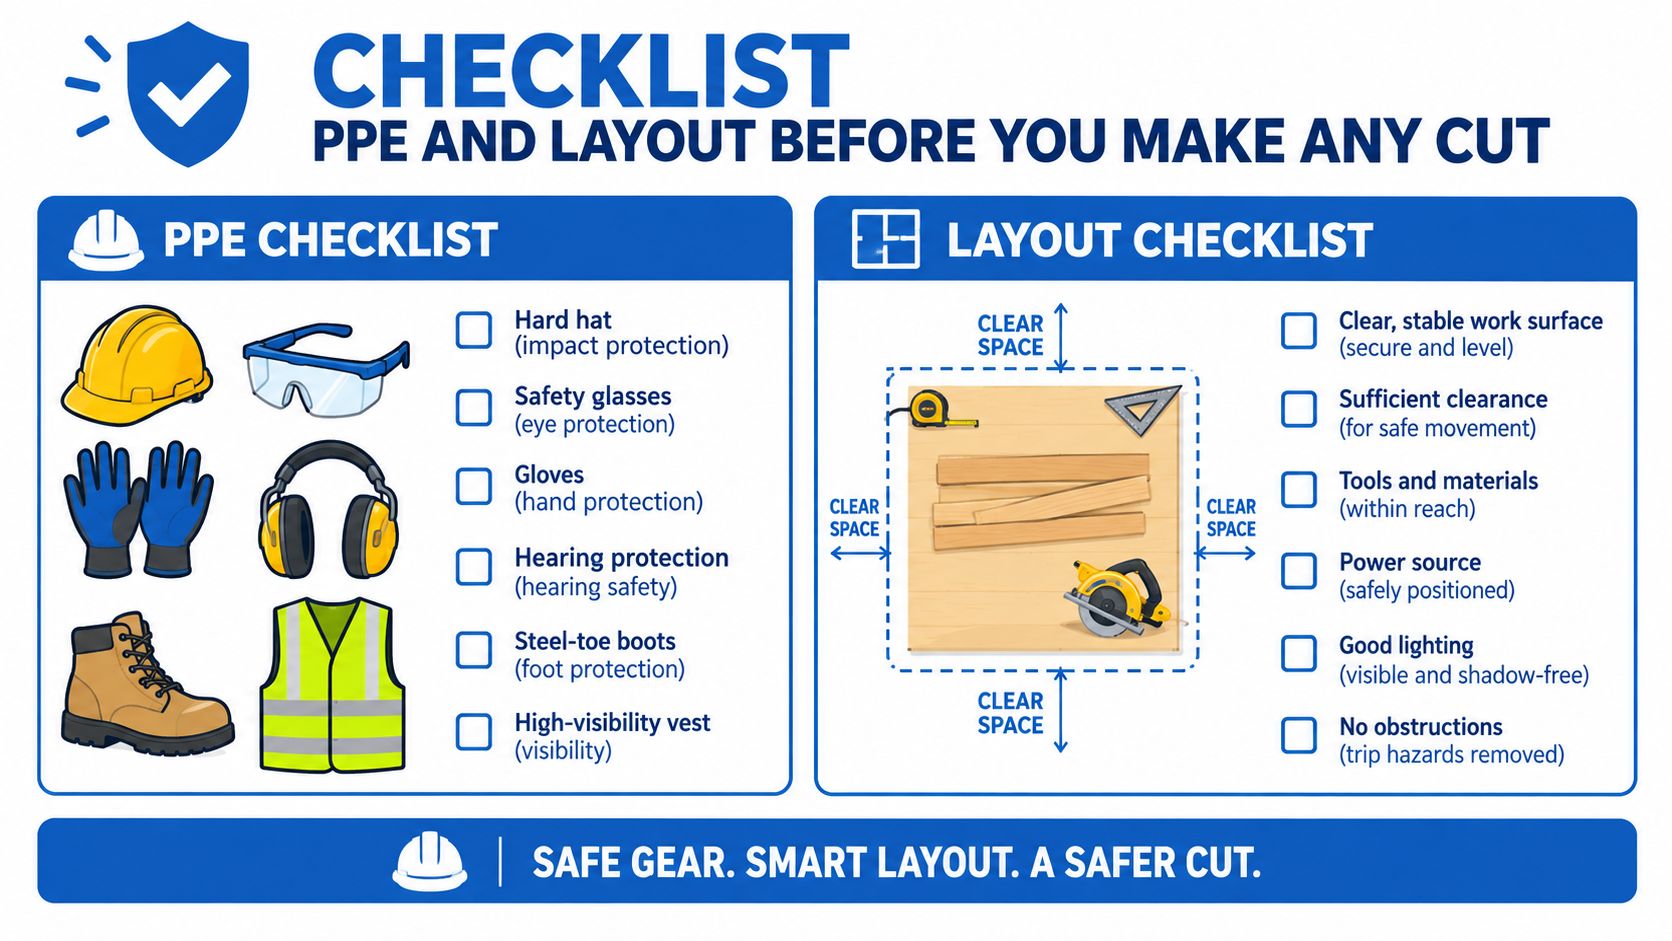
No one should be making a cut while the panel is still flexing on the tailgate or leaning against a stack in the yard. Set the sheet on a stable, nonmetal work surface so it can't bounce, and stage offcuts where they won't slide into finished material or get kicked under someone's boots. On roofs in Arlington or Mansfield, that also means thinking through fall protection before the first layout mark, because the cut itself isn't the only hazard.
Mark the panel before you touch the trigger
Mark the cut line on the reverse or primer side with a permanent marker, not on the face that the homeowner will see. That keeps the finish cleaner and gives you room to read the line while the tool rides the panel. When the profile is irregular, stop and read the contour before you cut, because guessing on corrugations or standing-seam returns usually means a second cut.
OSHA's PPE guidance starts with a hazard assessment, then matched protection for the task, and the examples they give line up with roofing work, safety glasses or goggles, face protection, gloves, safety shoes, hard hats, and hearing protection OSHA PPE assessment guidance. For a DFW crew, that means cut-resistant gloves, eye protection, long sleeves, soft-soled shoes for traction, and hearing protection when the tool gets loud. Tie-off matters on roof-level work too, because cutting doesn't excuse a fall.
Keep your hands outside the cut path and your feet planted before the blade moves. If the panel shifts, stop and reset it.
Match the cut to the setup
A simple field rule works well on commercial and residential jobs alike.
- Short straight or shaped cuts: Use hand snips when the cut is small enough to control cleanly.
- Repeated long straight cuts: Use electric or portable shears so the panel stays cooler and flatter.
- Profiled ribs and tight contours: Use a nibbler or profile shear where the shape matters more than speed.
- Wet, windy, or slick roof conditions: Move the work to the ground if you can, because the roof isn't a safe cutting table.
The tool choice matters less than the setup if the sheet is unsupported. A good line marked on a bad surface still produces a bad cut.
Cold-Cutting Procedure for Clean Factory-Finish Panels
A clean field cut starts before the tool turns on. Confirm the layout, verify the trim dimension, and set the panel on sawhorses or another stable support so it cannot flex while you work. When the situation allows, keep the panel face down. That keeps the visible side out of the cut path and gives the finish a better chance of surviving the day.
Do not drag one finished panel across another and call it efficient. That habit scratches coatings, bends edges, and turns a simple trim into warranty trouble. A slower setup at the start beats reworking damaged sheets or fishing chips out of seams after the panel is already on the roof.
Cut cold, then clean immediately
Manufacturer guidance favors snips, shears, and nibblers because they create less heat and fewer damaging chips than abrasive tools manufacturer installation guidance. Cold-cutting also helps avoid filing damage on painted and Galvalume-coated surfaces, so keep abrasive saws, grinders, and torches out of finish work whenever the system allows it. If the system instructions permit a saw, follow the handling steps carefully, cut with the panel face down, keep the work away from the building and other panels, work downwind, and wipe the sheet thoroughly afterward saw-cut handling guidance.
The field rhythm is simple. Cut, inspect, deburr, clean, then move the sheet. Knock off burrs with a file or deburring tool, and give the edge a quick visual check before the panel goes up. If the edge is warped or rough, do not assume fasteners will hide it. Correct it on the ground.
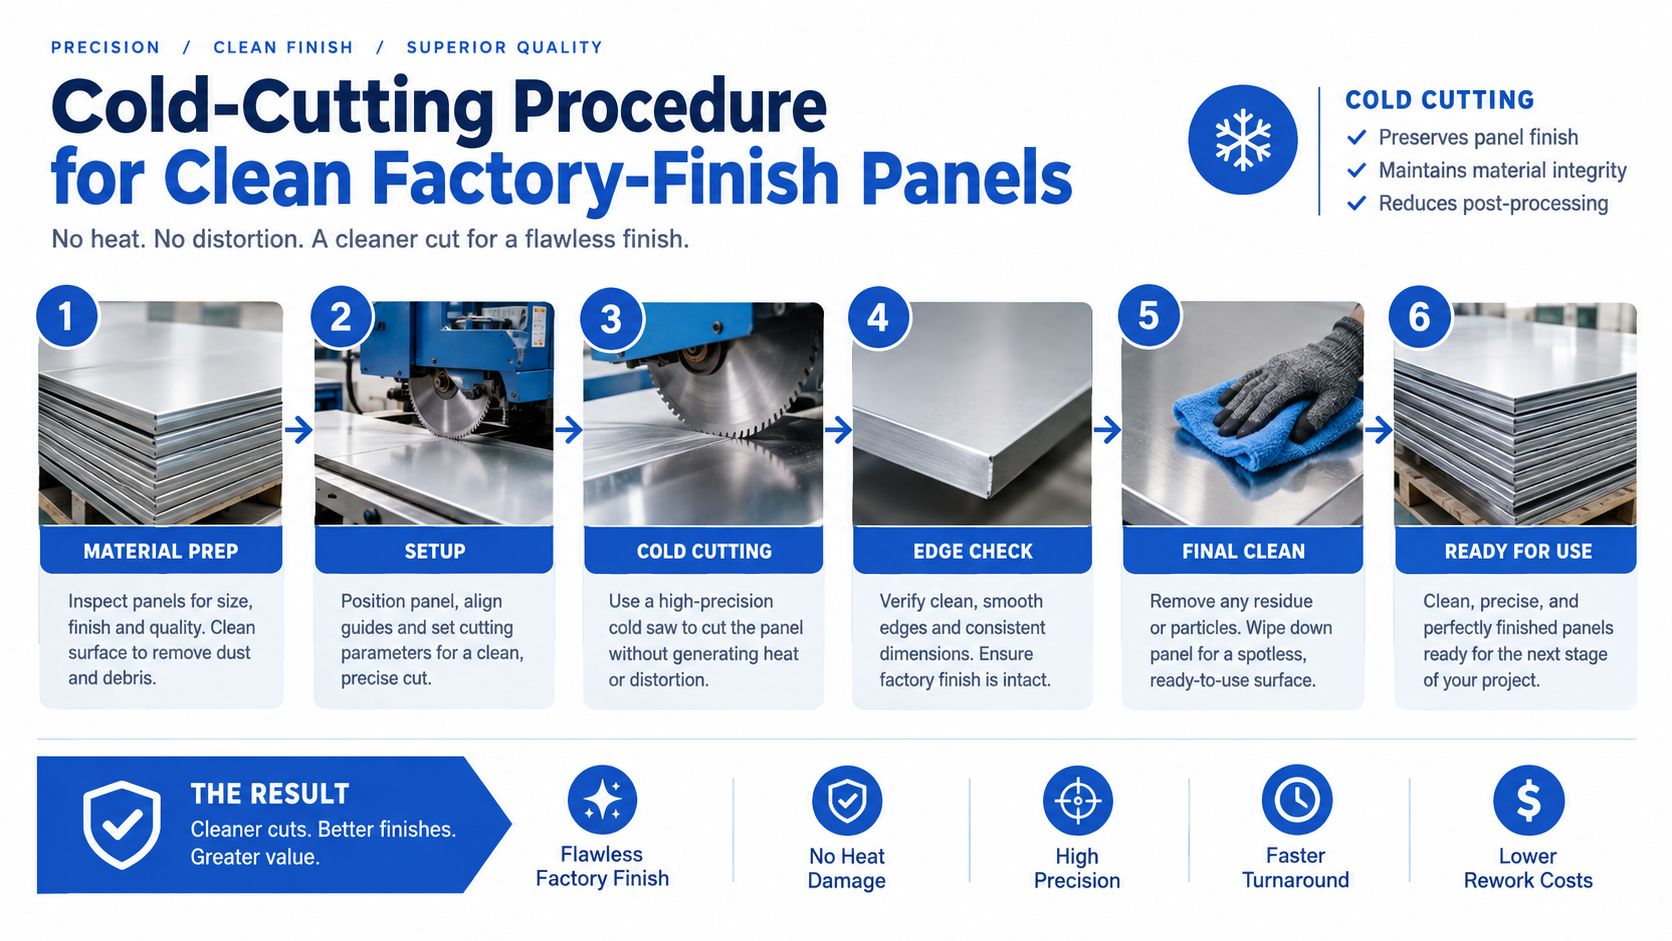
Quality check: every cut edge gets inspected, and every shaving gets removed before the panel goes back into the stack or onto the roof.
Choosing Hand Snips, Electric Shears, or a Nibbler
Pick the tool by the cut, not by habit. Short trim work on a panel in Keller calls for control. Long repeat cuts on a stack at the Forest Hill yard call for speed and a clean edge. The wrong tool wastes time and chews up the coating.
Tool Selection Decision Matrix for Metal Roofing Cuts
| Cut length / shape | Panel profile | Recommended tool | Main trade-off |
|---|---|---|---|
| Short straight or shaped cut | Flat or lightly profiled panel | Hand snips | Slower on long runs, but highly controlled |
| Long straight repeat cuts | Flat panel | Electric or portable shears | Fast and clean, but less useful for tight corners |
| Curves, notches, and cutouts | Corrugated or standing-seam contours | Nibbler | Leaves small chips that must be cleaned immediately |
| Profile-following cuts | Corrugated ribs or raised seams | Profile shear or nibbler | Better contour control, more tool-specific handling |
Hand snips are the first grab for short work because they keep heat and vibration out of the panel. That matters on factory-finish metal, where a sloppy cut can scuff paint before the sheet ever gets fastened. Electric shears speed up repeated straight cuts and keep distortion low, which makes them the practical choice when a crew is trimming several panels to the same length.
Nibblers earn their keep when the profile starts fighting back. They handle curves, notches, and awkward cutouts better than straight blades, especially on corrugated panels and raised seams. The trade-off is cleanup. They leave sharp chips, and those chips scratch finishes fast if they sit in the ribs or get dragged across stacked material.
Shears are cleaner on straight work, but they are not a fix for every profile. Use the tool that follows the metal cleanly, then clear the shavings before the panel goes back into the stack.
If you are ordering for standing-seam jobs, the panel profile should drive the cut method from the start. Standing seam metal roofing materials demand tighter handling than a shortcut usually gives them.
Finishing the Cut Without Destroying the Coating
The cut is not done when the panel separates. It is done when the edge is smooth, the lock still fits, and the work area is clean enough to leave on the roof overnight. On DFW jobs, that is where callbacks start if the crew gets sloppy.
Deburr, separate, and clean as one step
Run a file or deburring tool along the fresh edge, then check the interlock and the coating around the cut. If the panel has twisted enough that it will not seat right, force is the wrong move. Recut it. Do not stack cutoffs against finished panels, because loose filings and sharp fragments will scratch the finish and leave corrosion points hidden under the pile.
Manufacturer and specification guidance push the same habit, remove shavings and filings from panels and flashing the same day, and wipe installed surfaces before the crew leaves. Public metal-roofing specs also warn that cuttings and filings can stain and rust surfaces, so cleanup belongs in the cut sequence, not in a vague promise to sweep later. If you cut over another finished panel or leave chips in the ribs, you are building the callback into the job.
For corrugated work and trim details, keep the flashing in the same clean workflow. Roof flashing for corrugated roofing only performs as well as the edge it meets.
A light touch-up is acceptable only when the edge is smooth, the panel shape is still true, and the debris is gone. Anything else gets recut.
Common Questions from DFW Roofing Contractors
A saw only belongs in the cut line if the system instructions allow it, and even then the panel needs face-down placement, downwind cutting, clearance from other finished material, and an immediate wipe-down. For most Fort Worth crews, that is still the wrong default.
If morning dew makes the roof slick or the wind starts tossing panels, stop cutting on the roof and move the work to the ground. Wet metal slips fast, and a loose panel in the wind can cut hands or throw off your balance weather and roof-surface guidance.
Spark-producing tools near insulation or combustible framing call for hot-work controls. OSHA requires movable fire hazards removed, nearby openings guarded, and extinguishing equipment ready before the cut starts OSHA hot-work standard.
That is how you protect the finish, the crew, and the warranty.