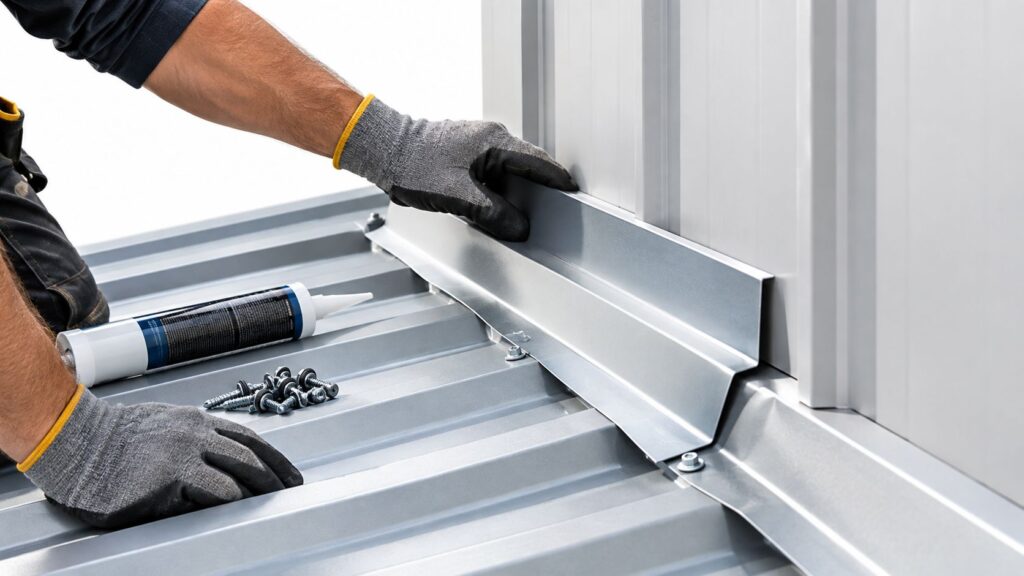
A crew in Fort Worth can have the deck clean, the rolls on the roof, and shingles waiting on the ground, then find out the porch pitch calls for a different underlayment layout than the main roof. That's when a rushed material choice turns into rework, a failed inspection, or a roof left exposed when weather rolls through.
The practical answer to how to install roof underlayment starts before the first roll comes off the truck. Roof pitch, the locally adopted code, the covering manufacturer's instructions, and how long the deck will sit uncovered all affect the assembly. The steps below are grounded in those decisions and the details that matter on jobs in Fort Worth, Arlington, Mansfield, and across DFW.
Table of Contents
- What Your Roof Is Telling You Before You Unroll a Thing
- Choosing Between Felt, Synthetic, and Self-Adhered
- Laying Underlayment From Eave to Ridge
- Handling Eaves, Valleys, Rakes, and Penetrations
- Low-Slope vs Steep-Slope Overlap Rules
- Ventilation, Vapor, and the DFW Heat Problem
- Wind, Dry-In Exposure, and the Pre-Cover Inspection
What Your Roof Is Telling You Before You Unroll a Thing
A porch rebuild in Fort Worth at 3:12 and a steep reroof in Arlington at 9:12 aren't the same underlayment job. Check the pitch before you order material or set the crew's fastening pattern. A pitch gauge is direct; a roof-pitch app can help, but verify the reading against the roof itself. The adopted residential code treats roofs from 2:12 to less than 4:12 differently from roofs at 4:12 or steeper, so a mistaken pitch can mean the wrong quantity of material and an assembly an inspector won't accept. The 2024 International Residential Code roof assembly provisions set out these slope-based underlayment requirements.
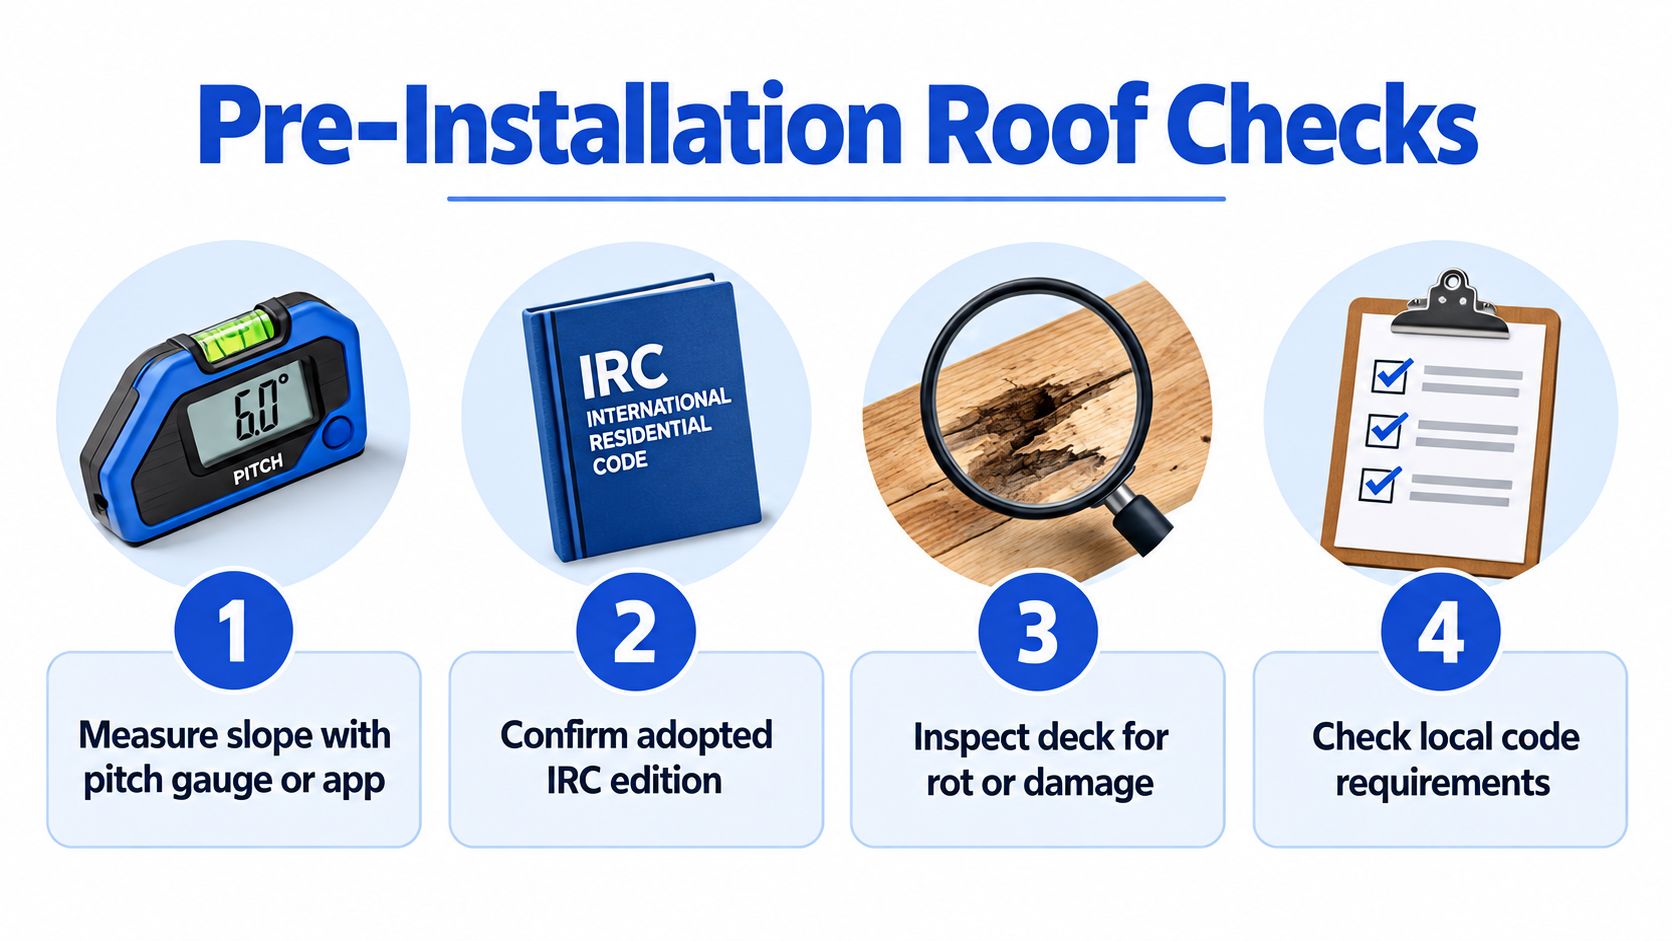
Next, call the local building department or check its published requirements to confirm which IRC edition and amendments apply at that address. Don't assume a model-code provision is automatically the local rule. Then read the shingle manufacturer's instructions. The code establishes a baseline, but the selected roofing system can have its own requirements for compatible underlayment, exposure, fastening, and transitions.
The deck gets its own inspection before material goes up. Look for damaged or soft sheathing, protruding fasteners, and moisture that needs to be addressed. Underlayment isn't a repair for a wet or defective deck. Also decide how long the deck may stay exposed. A job likely to sit through weather calls for close attention to the product's exposure limits and attachment method, not a casual assumption that any roll will serve as a temporary roof.
| Roof Pitch | Typical DFW Project | Recommended Underlayment Approach | Why It Fits |
|---|---|---|---|
| 2:12 to less than 4:12 | Low-slope porch or addition | Verify the local rule and plan for the required two-layer asphalt-shingle layout | The prescribed overlap differs from steep-slope work |
| 4:12 or steeper | Common pitched reroof in Arlington or Fort Worth | Generally, a single shingle-fashion layer beneath asphalt shingles | The cited code permits a single layer with specified laps |
| Any pitch with a long exposure window | Weather-delayed reroof | Match the product's exposure rating and fastening to the expected conditions | Temporary dry-in performance depends on the product and attachment |
Those checks determine what gets staged, how much gets ordered, and what details the crew needs ready for inspection. A pitch reading taken before delivery is cheaper than discovering the wrong roll count after the roof is open.
Choosing Between Felt, Synthetic, and Self-Adhered
There isn't one underlayment that wins every DFW job. Felt, synthetic sheet, and self-adhered membrane each bring different handling and assembly considerations, and the right pick depends on the covering, slope, exposure window, and manufacturer's requirements. Start by reading the product label and technical instructions rather than treating a material category as a guarantee of performance.
Asphalt-saturated felt is the familiar option. ASTM D226 identifies Type I, commonly called No. 15 felt, and the heavier Type II, commonly called No. 30 felt. ASTM D4869 is a separate steep-slope underlayment specification for asphalt-saturated organic felt; it includes a water-shedding shower test and classifies products by type and performance. Those standards give crews a way to identify what they're handling, but the felt still needs proper fastening and protection from jobsite damage.
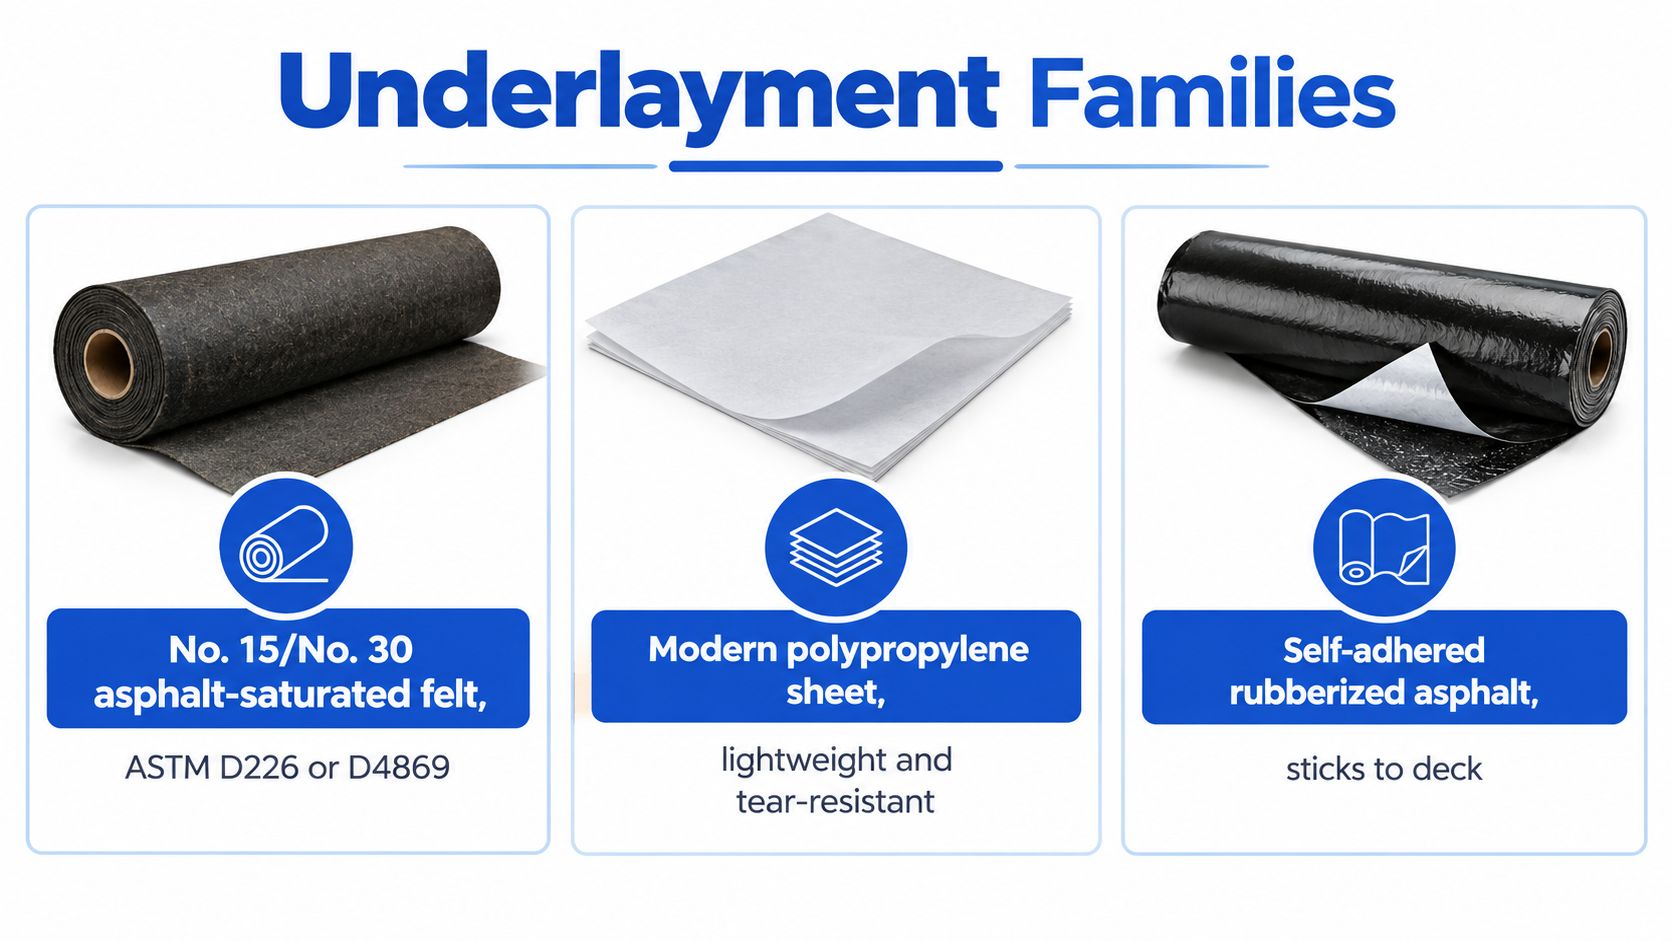
Synthetic underlayment is a sheet product, often made from polypropylene. Product characteristics vary, so don't infer maximum exposure time, slip resistance, or fastener compatibility from the word “synthetic.” Check the specific label and installation sheet, especially when crews may walk the surface or leave it exposed before shingles go on.
Self-adhered polymer-modified-bitumen membrane bonds to the deck and is used where the roof assembly calls for a fully adhered layer, including ice-barrier applications. It can provide a different attachment approach from mechanically fastened sheets, but broader coverage isn't automatically the better choice. Confirm compatibility with the roof system and consider whether the assembly can dry.
| Material | Typical Weight/Thickness | Max UV Exposure | Best-Fit DFW Use |
|---|---|---|---|
| Asphalt-saturated felt, Type I or Type II | Identified by ASTM type; check the product label for weight and thickness | Varies by product; follow manufacturer instructions | Jobs specifying felt that meets the applicable ASTM standard |
| Synthetic sheet | Varies by product; consult technical data | Varies by product; don't assume a universal limit | Projects where the selected sheet's exposure and fastening suit the schedule |
| Self-adhered polymer-modified bitumen | Varies by product | Varies by product; verify the label | Specified ice-barrier zones or assemblies requiring an adhered membrane |
The comparison isn't a price-per-square contest alone. A lower-cost roll that doesn't match the exposure window or fastening requirements can create extra labor and risk. FEMA's roof-systems guidance for sloped roofs emphasizes rated, labeled underlayment, matching attachment to local wind conditions, and following manufacturer instructions. It also identifies button-cap nails and fully adhered underlayment as secure attachment approaches.
Laying Underlayment From Eave to Ridge
On the open field of an asphalt-shingle roof, the direction is simple: start low and work uphill. Each upper course must lap over the lower one so water sheds down the surface instead of being driven into a seam. Keep the roll aligned with the eave, and use chalk lines to stop the courses from wandering across the deck.
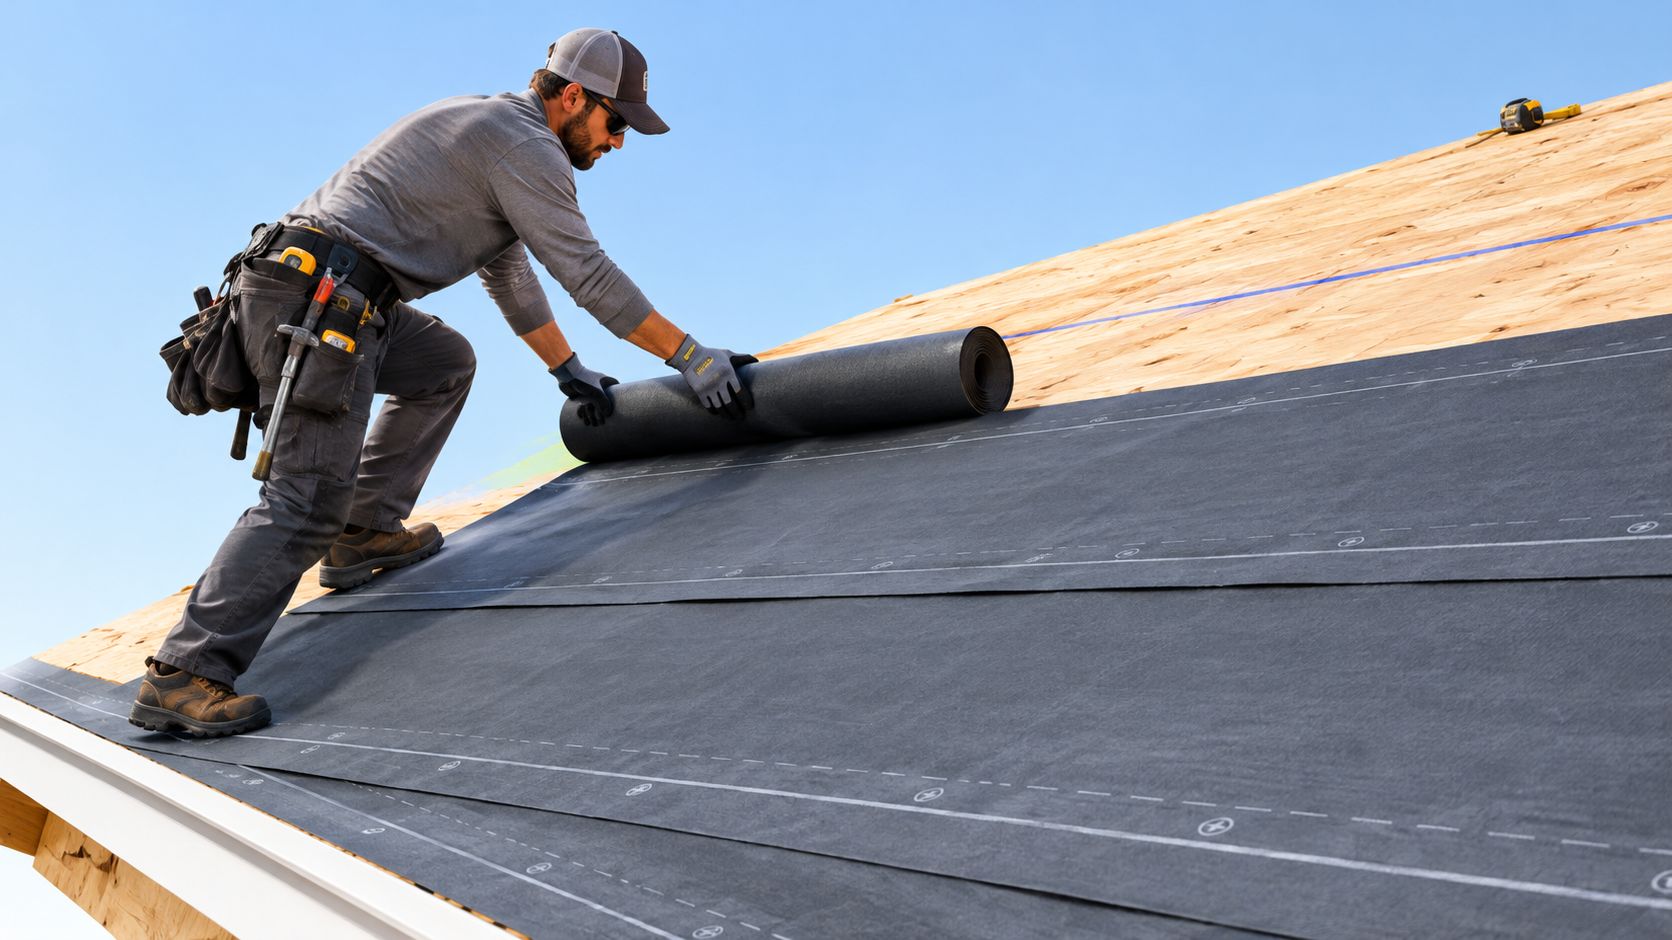
For the steeper-slope condition covered by the cited IRC guidance, the horizontal lap is 2 inches. The same guidance limits overlap fasteners to 36 inches apart. If the installation uses a grid pattern, the specified spacing is 12 inches between side laps and 6 inches along side laps. Confirm the exact fastening layout against the locally adopted code and product instructions before the crew starts.
Roll the sheet out without wrinkles or buckles. Secure one course before laying the next so wind doesn't lift a loose edge or shift the alignment. Stagger end joints rather than stacking them in a line. For the applicable two-layer low-slope layout, the cited code requires end laps of at least 4 inches, offset by 6 feet. Don't transfer that layout to a steeper roof or assume the same lap dimensions apply across every covering.
Field rule: If the sheet is wrinkled, loose, or lapped backward, fix it before the next course hides the problem.
Fastener selection matters as much as the pattern. NRCA guidance specifies corrosion-resistant cap nails with a minimum 0.083-inch shank diameter, an annular-ring or deformed-shank design, and caps at least 0.035 inch thick at the edge. It calls for cap nails long enough to penetrate at least three-quarters of an inch into the roof sheathing. The NRCA fastening guidance provides those details. Don't substitute ordinary staples or inconsistent hand-nailing for the attachment the product and roof system call for.
Keep the sheet neat as it approaches the ridge, and don't let underlayment interfere with the shingles' ability to seal. The NRCA residential roofing guidance describes the single-layer approach on steeper slopes and stresses securing the underlayment so it stays in place during roofing work.
For a visual reference to the eave-to-ridge workflow, use the video below alongside the product instructions and local inspection requirements.
Handling Eaves, Valleys, Rakes, and Penetrations
The open field is usually the straightforward part. Leaks find the transitions: eaves, valleys, roof-to-wall intersections, and penetrations. Treat each as a water-management detail, not as a spot where the crew can keep unrolling the field sheet and hope the flashing sorts itself out.
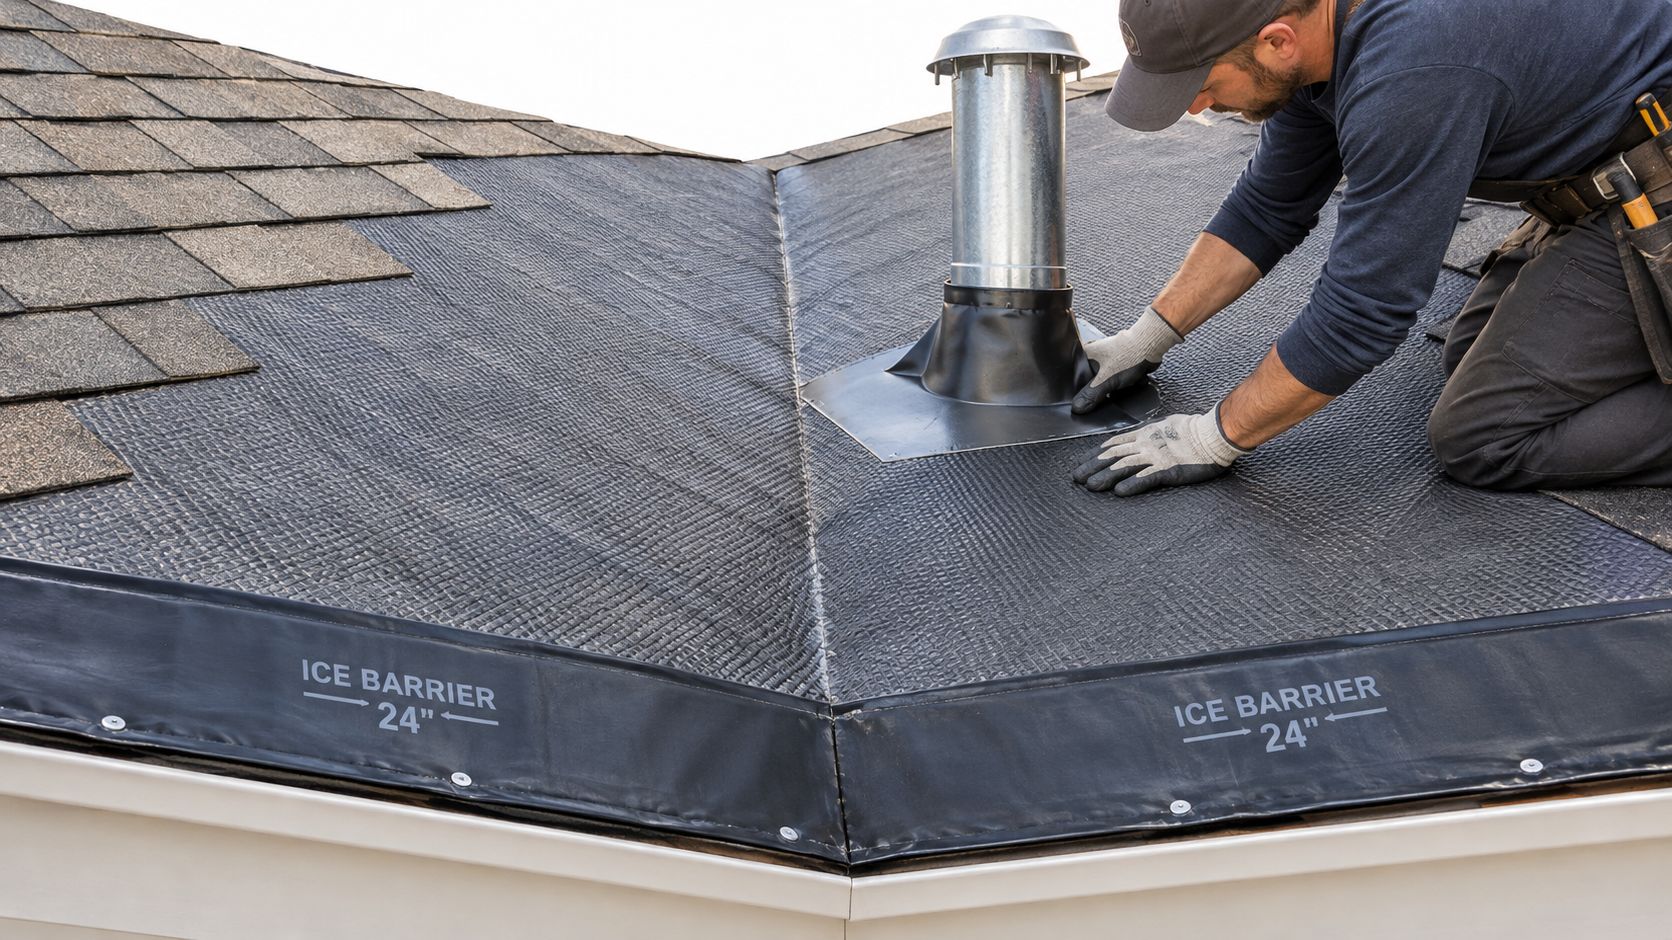
Where local conditions include recurring ice dams, the IRC calls for an ice barrier made from two layers of cemented underlayment or a self-adhering polymer-modified-bitumen sheet. It must extend at least 24 inches inside the exterior wall line. Verify whether the jurisdiction's adopted code requires that protection on the project; don't treat a DFW address as an automatic exemption from checking local requirements.
At valleys, use the membrane or underlayment method specified for the roof system. Run field courses into the valley without making reverse laps, and secure or seal vulnerable edges as the product instructions require. For roof-to-wall transitions, integrate step flashing and the field underlayment so upper materials shed onto lower ones. Blue Lake's guide to installing roof flashing against a wall covers that wall-intersection detail.
FEMA's repair detail calls for a minimum 6-inch upturn at wall intersections and double-lapping across ridges unless a continuous ridge vent is present. For drip edge, Building Science recommends minimum 3-inch overlaps at joints, an eave extension at least 1/2 inch below the sheathing, and at least 2 inches over the roof-sheathing edge. It also specifies compatible mechanical fasteners at maximum 4-inch spacing. See the Building Science roof-assembly moisture-control report for its discussion of edge detailing and moisture paths.
The relationship between drip edge and membrane can vary by roof system and location. Follow the specified sequence instead of applying one universal rule at both eaves and rakes. Check pipe boots, headwall and sidewall flashing, and the membrane around each penetration before the shingles cover them. A small open edge can create a path for water even when the field courses look clean.
Low-Slope vs Steep-Slope Overlap Rules
The overlap mistake that draws attention on a low-slope roof is using the steep-slope layout. On asphalt-shingle roofs, the cited 2021 IRC guidance requires a two-layer installation for slopes from 2:12 up to but not including 4:12. It begins with a 19-inch-wide starter strip at the eave, followed by 36-inch-wide courses installed parallel to the eave. Each succeeding course overlaps the preceding course by 19 inches; end laps are at least 4 inches and offset by 6 feet. The NRCA underlayment detail provides the cited layout.
| Slope Range | Layers | Starter Strip | Course Overlap | End Lap |
|---|---|---|---|---|
| 2:12 to less than 4:12 | Two | 19 inches wide | 19 inches | At least 4 inches, offset by 6 feet |
| 4:12 or steeper | Generally one | No separate 19-inch starter strip under this rule | 2 inches horizontal lap | Follow the applicable code and product instructions |
For slopes of 4:12 or greater, the cited residential guidance generally permits one layer installed shingle-fashion, parallel to and beginning at the eaves, with successive sheets overlapped by 2 inches. That difference is not a minor adjustment. A crew in Mansfield, Grand Prairie, Burleson, or elsewhere in the DFW area that carries the steep-slope lap onto a low-slope deck can end up with a noncompliant assembly and water-management risk.
The locally adopted code and the authority having jurisdiction still control the job. Check them before staging material, especially on porch roofs, additions, and other sections whose pitch may differ from the main roof. For projects that call for a different low-slope roofing system, don't treat shingle-underlayment rules as interchangeable with modified-bitumen requirements; confirm the specified assembly and materials, including the applicable modified-bitumen roll roofing products.
Pitch also affects what the whole roof can do with moisture. A tighter membrane may reduce water entry, but if the assembly can't dry, that added resistance can create another problem. Match the roof covering, underlayment, and ventilation plan instead of choosing a lap detail in isolation.
Ventilation, Vapor, and the DFW Heat Problem
“More waterproof” sounds safe until the roof assembly can't dry. Self-adhered membranes can act as vapor retarders. Covering an entire deck with one can limit drying potential, especially when the attic or roof assembly lacks effective ventilation. Moisture that can't escape may condense beneath the sheathing and contribute to deterioration. The 2021 IRC underlayment discussion flags this concern with full-deck self-adhered membranes.
North Texas crews shouldn't treat water resistance as the only selection criterion. Before specifying full-deck coverage, assess how the attic or roof assembly dries and whether the underlayment's vapor characteristics suit that design. Confirm the ventilation approach, including a clear path from soffit to ridge where the roof uses that configuration, and check that eave baffles aren't blocked or compressed.
A membrane can keep water out and still be the wrong fit if the assembly has nowhere to release moisture.
The perm rating belongs in the product review, not as an afterthought. Check the manufacturer's technical data and coordinate the choice with the roof covering and ventilation design. A single field rule won't fit every Fort Worth reroof: the right answer depends on the assembly's drying potential and the product's requirements.
Wind, Dry-In Exposure, and the Pre-Cover Inspection
A roof can be installed correctly and still get challenged before shingles go down. In DFW, schedule changes and passing storms can leave underlayment exposed, so check the product's stated exposure and wind limitations. Follow the manufacturer's attachment instructions, and use only manufacturer-approved methods for added fastening or temporary dry-in. A water-resistant label doesn't guarantee that a loose edge, valley, or penetration will stay secure in wind-driven rain.
Before covering the roof, walk the work and look for fishmouths, wrinkles, open or reverse laps, torn membrane, unsealed penetrations, and fasteners left exposed where the product instructions prohibit them. Check the valleys and wall transitions for continuity. Photograph concealed details while they're visible, especially where they'll matter for inspection, warranty records, or a later repair. Where the system requires a transition membrane, use compatible materials such as the specified roof flashing tape rather than improvising with an unrelated product.
Quick crew check: Confirm the pitch, the adopted code, the covering manufacturer's instructions, and the product's exposure limits. Verify that each course and transition sheds water in the right direction, then take the pre-cover photos before the next trade or roofing layer hides the work.
FAQ: Can underlayment go over a damp or damaged deck? No. Correct the deck condition first; underlayment doesn't repair wet or defective sheathing.
FAQ: Is the 2-inch lap right for every roof? No. It applies to the cited steep-slope guidance; asphalt-shingle roofs from 2:12 to less than 4:12 use the two-layer layout and larger course overlap described above.
FAQ: Can a self-adhered membrane cover the whole deck? Only when the roof system, product instructions, code, and drying design support that assembly.
Blue Lake Roofing Supply stocks installer-grade roofing materials and accessories for contractors across the DFW area, with jobsite-direct delivery from its Forest Hill yard. For underlayment, flashing, or a full roofing package, visit Blue Lake Roofing Supply to discuss the materials your crew needs for the next job.