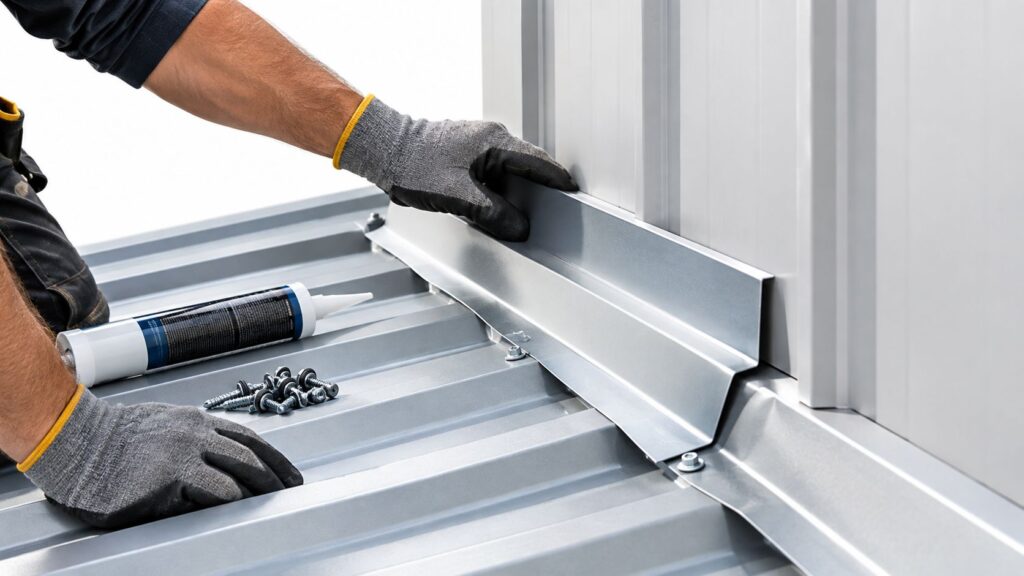
A Fort Worth roof leak never waits for a calm day. A contractor can finish a clean install in Arlington or Grapevine, then the next hard rain shows a weak seam at a valley, a pipe boot, or a roof-to-wall transition. That's where roof flashing tape earns its keep, not as a generic patch, but as a detail material that has to match the roof, the substrate, and the weather.
In DFW, that matters more than it does in a mild climate. Hot summers, strong sun, sudden storms, and the occasional freeze all punish weak adhesion and poor detailing. If the tape choice is wrong, or the prep is rushed, the callback usually shows up first in Tarrant County, then in the rest of the Metroplex.
Table of Contents
- Why Roof Flashing Tape Matters in DFW
- Comparing Butyl, Bituminous, and Butyl-Backed Flashing Tapes
- Surface Preparation for Reliable Adhesion
- Application Techniques That Prevent Future Failures
- Performance Limitations in DFW Climate Zones
- Making the Right Choice for Your DFW Project
- Common Mistakes and Troubleshooting Tips
Why Roof Flashing Tape Matters in DFW
A crew in Fort Worth can do everything right on the shingle field and still get burned by one bad seam. I've seen that happen after a heavy rain, when water found a roof valley transition that looked fine from the street but opened up as soon as wind-driven water pushed against it. The tape wasn't the problem by itself, the detail was.
Roof flashing tape matters here because DFW roofs don't live in stable conditions. They cycle from brutal heat to storm season to short cold snaps, and that movement stresses every seam, penetration, and transition point. The actual job of the tape is to keep those weak spots sealed when the roof deck expands, contracts, and takes water under pressure.
Practical rule: If a detail is going to fail in North Texas, it usually fails at a seam first, not in the middle of a field of shingles.
On sealed roof decks, the product is treated as a specification-based component, not an afterthought. The FORTIFIED Home program requires either a 4-inch-wide ASTM D1970-compliant self-adhering polymer-modified bitumen flashing tape or a 3¾-inch-wide AAMA 711 Level 3 compliant self-adhering flashing tape for sealed roof decks, and the same program shows this requirement in use across updated documents from 2015, 2020, and 2024. The broader building code picture points the same way, because the 2024 International Residential Code says self-adhered membrane used as flashing shall comply with AAMA 711.
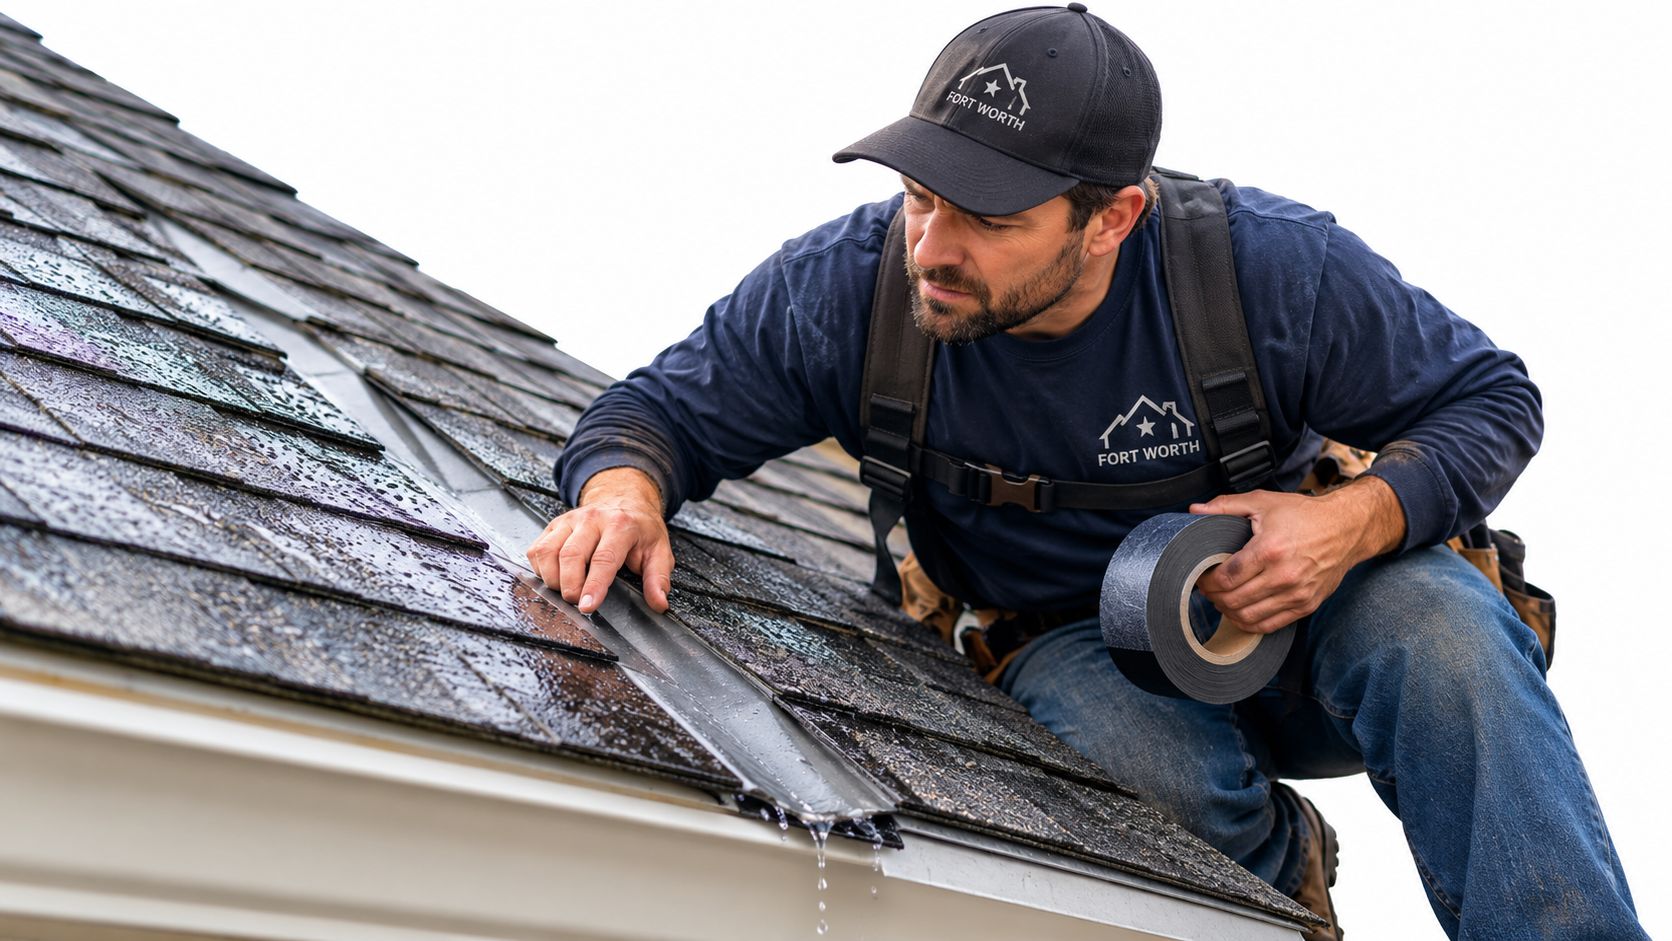
That shift matters for contractors working across Dallas, Arlington, Fort Worth, and the surrounding Tarrant County communities. The tape isn't just covering a gap, it's helping the assembly meet a standard that insurers, inspectors, and code officials increasingly recognize. In practice, that means the best tape is the one that seals the joint, handles the substrate, and survives the climate.
Comparing Butyl, Bituminous, and Butyl-Backed Flashing Tapes
Roof flashing tape only works as well as the detail it is asked to seal. A tape that holds on a simple shingle lap can still fail at a metal-to-masonry transition, especially on North Texas roofs that cycle through hot afternoons, cool nights, and the occasional freeze. Butyl-rubber/foil, bituminous, and butyl-backed tapes each handle that stress differently.
What butyl brings to the job
Butyl-rubber/foil systems are the ones I trust most on demanding details. They are built for movement, which matters on metal roofs, chimney bases, and mixed-material transitions where the substrate keeps shifting. Many product sheets for this type also list a total thickness around 35 mil and service temperatures from -30 °F to 200 °F, which gives you a sense of why they stay in play on exposed work.
That kind of range matters in DFW. On a dark metal panel in July, the tape has to stay bonded when the surface heats up fast. In a colder snap, it still has to flex instead of turning brittle at the edges. On jobs where the joint is expected to move, butyl-rubber/foil gives you more forgiveness than a basic patch tape.
Where bituminous tape still fits
Bituminous flashing tape still has a place on straightforward work. If the surface is clean, the detail is simple, and the exposure is not extreme, it can do the job without overcomplicating the install. I use that word carefully, because the product is not a cure-all. It is a practical choice when the assembly does not demand much stretch or long-term movement.
That makes it more comfortable on predictable residential roof deck work than on mixed-substrate repairs. It is easier to justify on a simple seam than on a transition that sees heat, expansion, and edge stress all at once.
Picking the right type for the detail
The right tape depends on the joint, the roof material, and the climate exposure. A sealed roof deck, a pipe penetration, and a corrugated-metal transition do not ask for the same performance. One job may need stretch and recovery. Another just needs a flat bond that stays put.
| Roof Flashing Tape Type Comparison | Temperature Range | Thickness | Best For |
|---|---|---|---|
| Butyl-Rubber/Foil | -30 °F to 200 °F | About 35 mil | Metal details, high-movement transitions, demanding exposure |
| Bituminous Tape | Varies by product | Varies by product | Straightforward seams, residential roof deck work |
| Butyl-Backed Variant | Varies by product | Varies by product | Mixed details where balance of handling and adhesion matters |
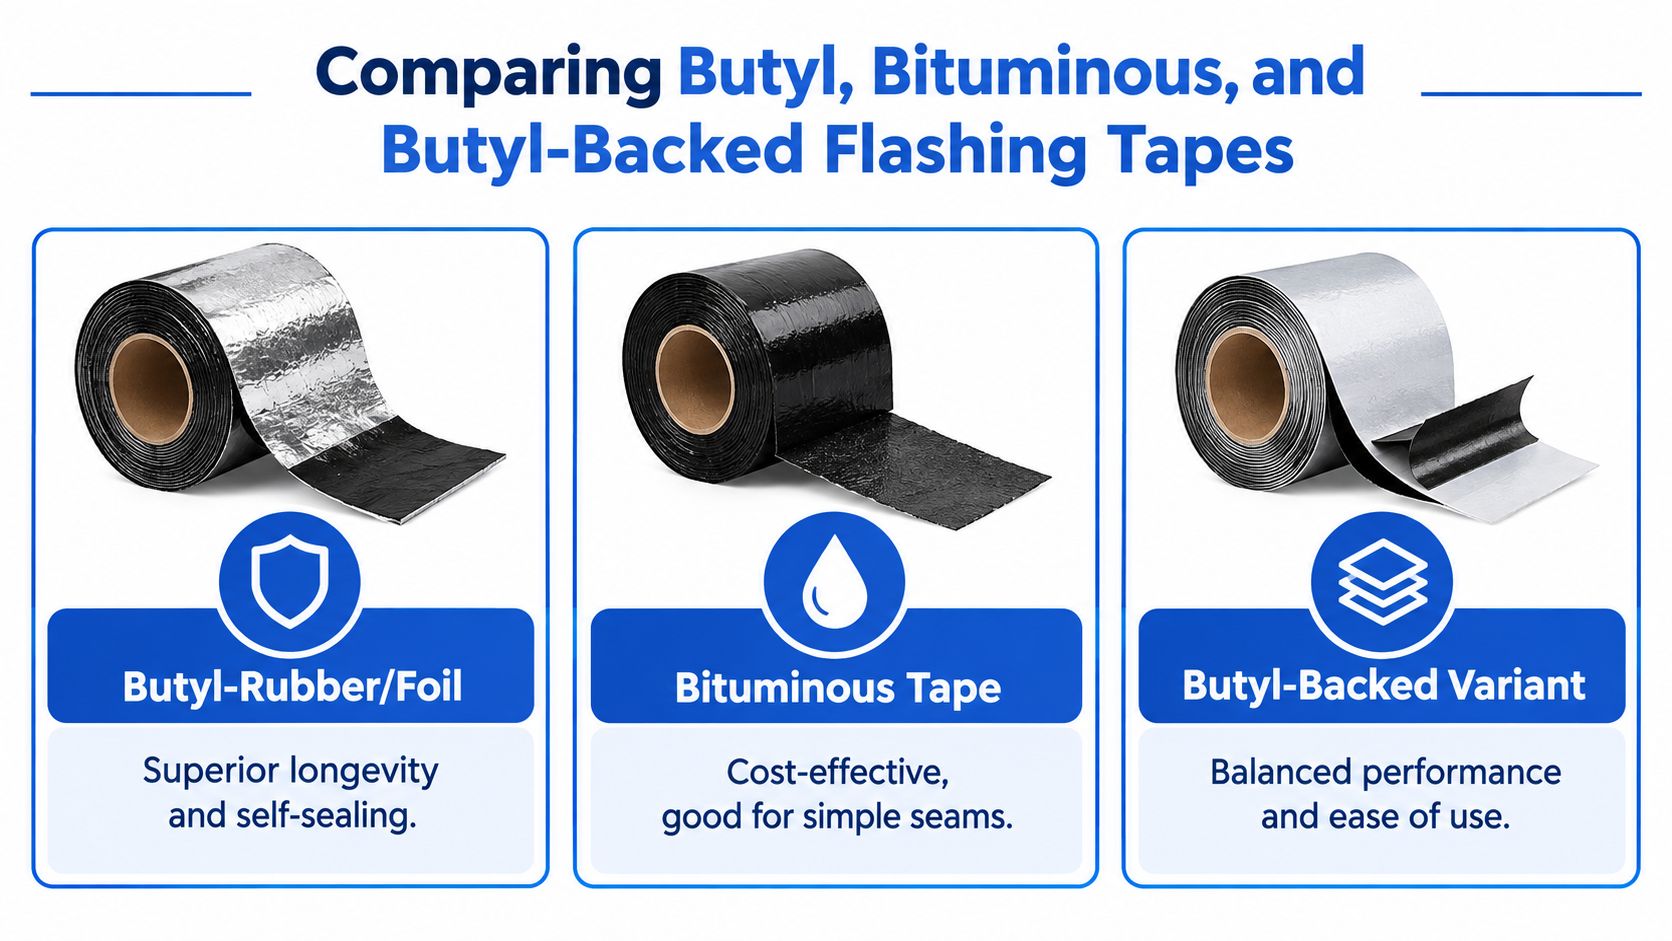
A butyl-backed variant sits between those two in handling and feel. It can be a good compromise when a crew wants easier application than a full heavy-duty butyl system, but still needs better movement tolerance than a basic bituminous option. On a Fort Worth or Plano repair, that middle ground can make sense if the detail is moderate and the surface prep is solid.
Surface Preparation for Reliable Adhesion
If the roof is dirty, dusty, damp, or coated with old residue, the tape is already working uphill. That's true on asphalt shingles, metal panels, wood decking, and existing flashings. Most failures I've seen in Frisco, Irving, and Plano started with a surface that looked acceptable from five feet away and wasn't.
Clean first, then inspect
Start by clearing loose debris, chalk, dust, and old adhesive residue. The adhesive can only bite into what it can contact, and contamination robs you of bond strength before the roller ever comes out. On weathered or chalked surfaces, a primer may be necessary if the manufacturer calls for it.
Dry, clean, compatible surfaces are not optional for reliable bond strength.
That matters even more when the work is being done on an emergency repair. Tapes need the right substrate conditions, and independent guidance stresses that self-adhered flashing performance depends on strict substrate compatibility and installation conditions rather than serving as a universal replacement for proper detailing. For roofers, that means the tape is one piece of the assembly, not a shortcut around the assembly.
Match the prep to the material
Asphalt shingles usually need debris removal and a check for granule loss at the bond line. Metal panels need oil, dust, and oxidation dealt with before the tape goes down. Wood decking needs to be sound, dry, and free of loose fibers. Existing flashings need to be evaluated for what's present on the surface, because old sealant and patch residue can ruin the new bond.
A good field habit is to stage the prep before the tape roll ever opens. I've found that crews move faster when they clean the whole area first, then measure and apply in one pass instead of chasing contamination after the fact. If you're comparing underlayment or deck details, this asphalt shingle underlayment resource is a useful place to cross-check assembly choices.
Application Techniques That Prevent Future Failures
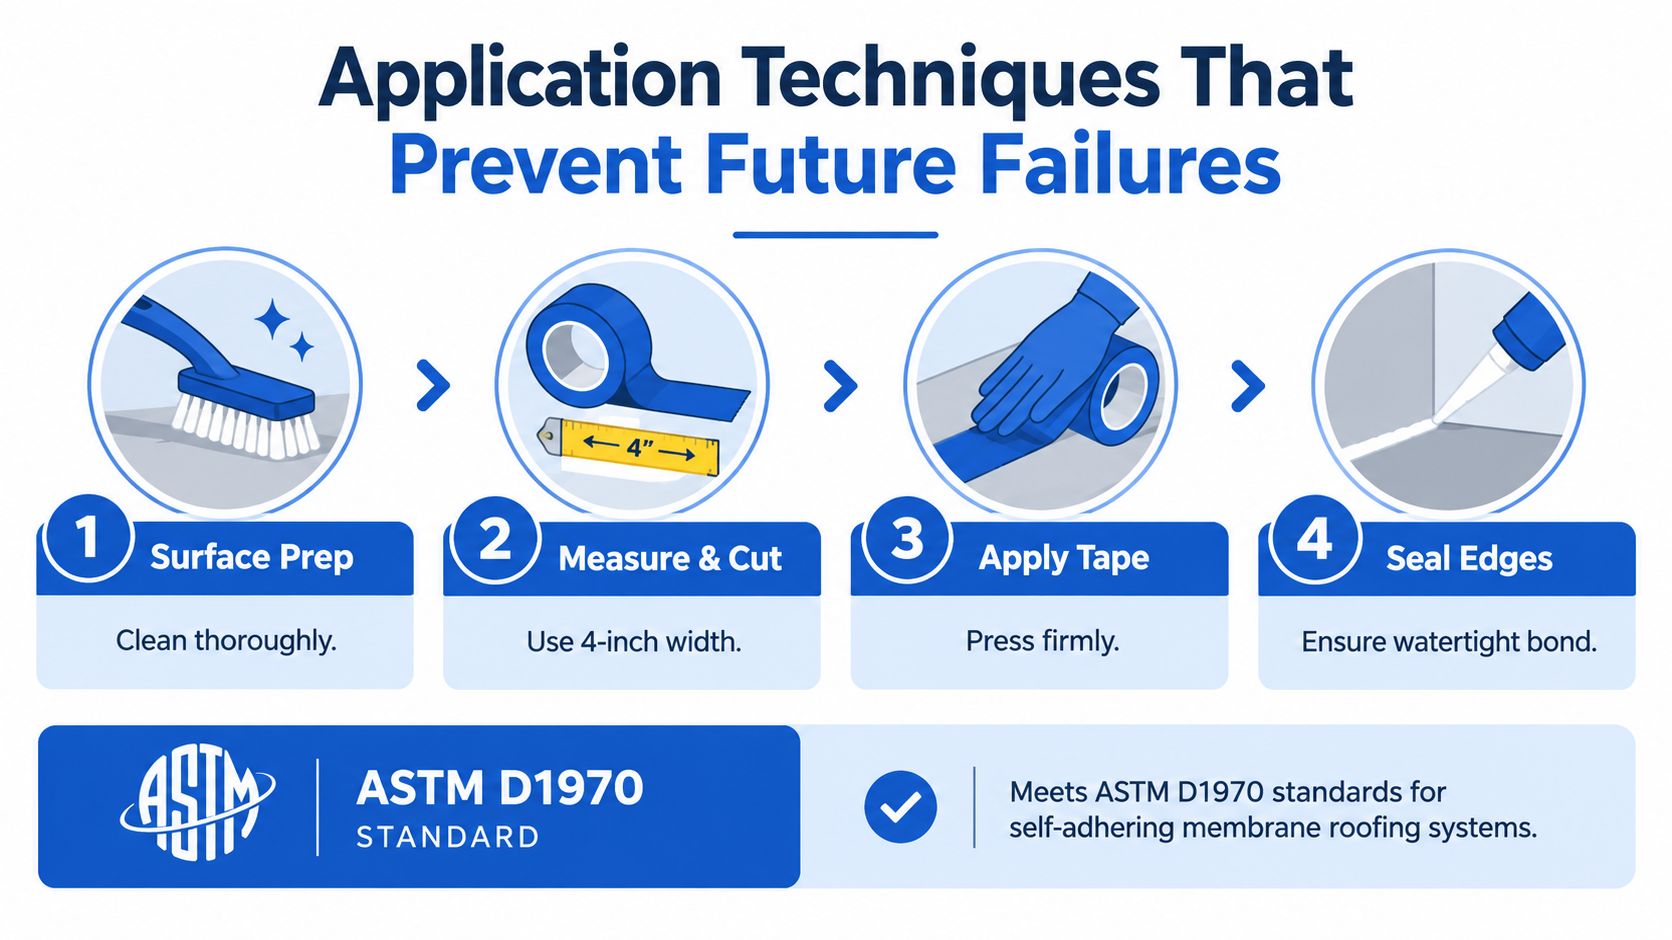
Good flashing tape work looks simple because the hard decisions were made before the first strip went down. The discipline is in sizing, placement, and pressure. On sealed roof decks, major guidance commonly calls for a nominal 4-inch width, and the tape has to fully adhere without voids or wrinkles so it can seal around fasteners and reduce leakage at joints.
The sequence that holds up
- Measure the detail carefully. Don't cut blind. If the seam or penetration needs a 4-inch class tape, use the right width and let the overlap land where the assembly needs it.
- Set the piece without stretching it into shape. Stretching can create pullback later, especially on hot days in DFW.
- Press the tape hard into the substrate. The goal is full contact across the bond line, not just a visible stick.
- Seal the edges and fastener zones. That's where water tries to start moving first.
Working in North Texas weather adds another layer. Avoid the habit of slapping tape onto a surface that's too hot, especially in direct midday sun when the substrate is already punishing the adhesive. If rain is in the window, shift the schedule and do the detail when the surface has a real chance to stay dry through the set.
Around pipe boots, vents, and valley transitions, the shape of the detail matters as much as the tape itself. In those spots, I'd rather see a careful installer spend an extra ten minutes trimming and setting the piece than rush through and create a wrinkle that becomes a leak path by the next storm. If you need a wall detail reference, this roof flashing guide for wall transitions is worth keeping in the shop.
Performance Limitations in DFW Climate Zones
Not every tape behaves the same once it's on a roof in Dallas–Fort Worth. Hot-humid summers are rough on adhesive stability, hot-dry periods punish edge seal and surface movement, and freeze-thaw swings expose weak compatibility fast. A product that looks fine on a mild spring day can start showing trouble once the roof is cycling hard.
Climate exposure changes the failure mode
UV exposure is one of the biggest separators. If a tape is left too exposed, it can age faster than the rest of the assembly around it. Thermal movement is another issue, especially on metal-to-wood transitions where two substrates expand and contract differently. The tape can't fix a bad transition if the materials keep pulling against each other.
Field lesson: When a bond fails in DFW, the cause is often climate plus prep, not climate alone.
Independent guidance also stresses that dry, clean, compatible surfaces are required for reliable bond strength. That's why a damp substrate is such a bad idea, even when the job feels urgent. A tape that's great on paper can still fail if the installer tries to use it as a universal cure for a bad detail, a contaminated surface, or a moving joint.
The practical answer is to match the tape to the exposure. On roofs with heavy sun and heat load, low-temperature flexibility and strong high-heat behavior matter. On mixed assemblies, substrate compatibility matters just as much as adhesive type. A contractor's judgment counts more than the label on the roll.
Making the Right Choice for Your DFW Project
The right selection comes down to the job detail, the roof material, and the climate exposure. Fort Worth, Arlington, Grapevine, Southlake, Keller, Hurst, Euless, Bedford, Haltom City, and North Richland Hills all see enough heat and storm stress that a one-size-fits-all tape choice is a poor habit.
A simple match-up that works in the field
- Deck seam sealing: Use a tape that meets the sealed-deck standard and is sized for the seam, not just the trim.
- Pipe penetrations: Pick a tape that can conform cleanly without wrinkling at the collar or boot.
- Roof-to-wall transitions: Use a product with enough adhesion and flexibility to stay tight at changing planes.
- Metal details: Favor a formulation that handles thermal movement and sticks well to the intended substrate.
If you're sourcing materials for a corrugated roof detail, this roof flashing for corrugated roofing reference helps frame the accessory choices that go with the tape.
Blue Lake Roofing Supply is one option contractors in the Metroplex use for installer-grade roofing materials, including flashing components, when the job calls for jobsite-ready supply rather than a generic retail pickup. That kind of sourcing matters because the detail only works when the tape, trim, and related accessories are on site together.
The market is also moving toward more specialized products, with newer UV-resistant, higher-temperature, and multi-layer designs showing up more often. That makes the old advice of “just grab any flashing tape” less useful every year.
Common Mistakes and Troubleshooting Tips
Most flashing tape failures are plain to see once you know where to look. The installer skipped prep, the substrate was dusty or damp, or the tape was used on a surface it was never meant to hold. In Carrollton, Richardson, McKinney, Allen, Prosper, Wylie, Rowlett, Lewisville, and Grand Prairie, that same pattern shows up on repeat service calls.
Diagnose the failure before you patch it again
If the edge lifted, start with the surface. Dust, residue, chalking, and trapped moisture usually show up there first. If the tape peeled but the surrounding material is still sound, the product may have been fine and the prep was weak.
If the bond failed at a transition, check substrate compatibility. Some details ask one tape to bridge two materials that move differently or do not bond well together. That is a detail problem more than a tape problem.
If the tape aged fast, inspect the exposure. UV and heat punish an unprotected installation quickly in open roof details, especially when the tape is left visible and unshielded. In DFW, that matters by climate zone and roof material. Hot-dry exposure can harden marginal products, hot-humid conditions can expose weak adhesion sooner, and freeze-thaw stress can open a bond that looked fine in summer.
The market keeps growing because contractors still need better versions of the same fix. One independent report estimated the global bitumen flashing tape market at USD 981 million in 2025 and projected it to reach USD 1.394 billion by 2034 at a 5.5% CAGR, while another placed the broader market at USD 2.8 billion in 2025 and forecast USD 4.7 billion by 2034 at 5.9% CAGR. That points to stronger demand, but it does not change the basics. The tape still has to be installed cleanly, on the right substrate, and in the right condition.
If a repair keeps failing, stop treating it like a tape issue and inspect the whole detail. A small patch can handle a small problem, but it cannot rescue a roof assembly that is moving, damp, or mis-detailed.