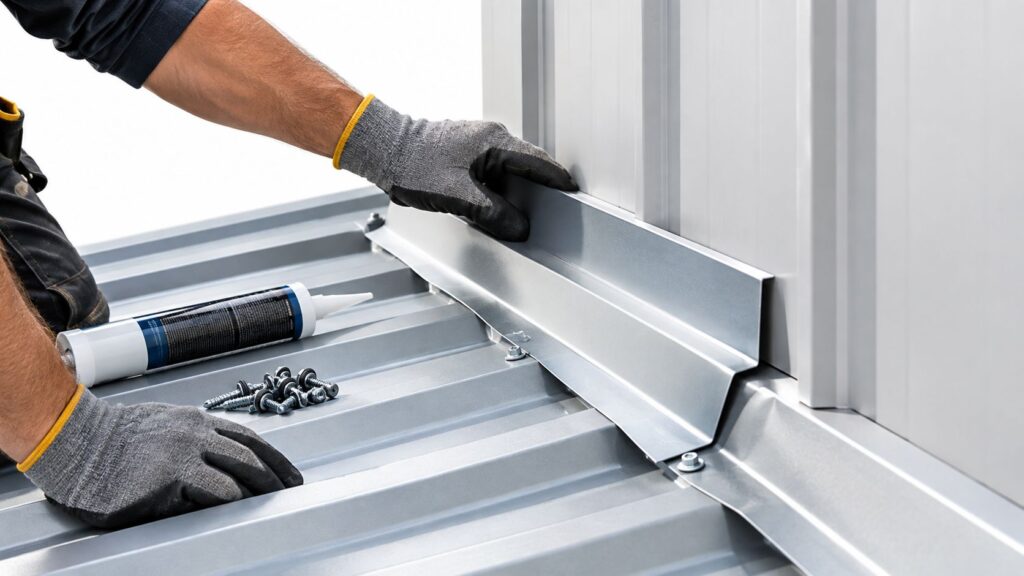
A spring hailstorm has passed through Fort Worth, the shingles are coming off, and the crew is moving quickly to get the house dried in. Then someone pulls a lifted strip of metal from the eave and finds wet sheathing behind it. That's when a detail most crews can install in minutes turns into an interior call-back, deck replacement, and a conversation about warranty responsibility.
The roof edge is exposed to wind-driven rain and uplift, yet it's easy to miss during a rushed pre-install walk. This field guide is for residential and small commercial crews working Fort Worth, Forest Hill, Arlington, Hurst, Benbrook, and nearby DFW communities. A deliberate check of the roof flashing drip edge before it disappears under shingles can prevent a lot of avoidable trouble.
Table of Contents
- Why DFW Edges Fail Before the Field Does
- Drip Edge Profiles You Will See on DFW Trucks
- Fort Worth Code Numbers Crews Must Hit
- Over or Under the Underlayment by Edge
- A Repeatable Install Sequence for Crews
- When a Residential Drip Edge Is the Wrong Part
- Pre-Shingle Inspection Checklist and Local Sourcing
Why DFW Edges Fail Before the Field Does
A Fort Worth reroof after hail doesn't always fail in the middle of the roof. The shingles may look sound once the repair is complete, while a loose eave edge lets wind-driven rain reach the sheathing. By the time the homeowner notices an interior stain, the crew may be off the job and the repair has become a call-back instead of a quick correction.
Roof edges deserve attention because they combine exposed metal, wood sheathing, underlayment, shingles, and often a gutter. Each material has to work with the next. If the drip edge is short, poorly fastened, or sequenced incorrectly for the assembly, water can get behind fascia or beneath the roof covering. A roof field that's intact doesn't guarantee a sound perimeter.
Field reality: A clean shingle line can hide a bad edge detail. Check the metal before the starter course and shingles cover the work.
Wind can lift or peel edge flashings and fascia covers, creating a water-entry path even when the main roof covering remains in place. FEMA's wind-vulnerability guidance also warns that a vertical drip-edge flange exceeding 2 inches takes additional wind load and is more susceptible to failure. That makes profile and attachment choices functional decisions, not just trim preferences.
A sound roof flashing drip edge directs runoff away from vulnerable fascia and sheathing, but it must also stay attached under wind pressure. For crews in Forest Hill, Arlington, Hurst, and Benbrook, treat the perimeter as its own inspection zone. Walk it before installation, verify the deck edge, and settle the profile and sequence before the crew starts laying metal.
Drip Edge Profiles You Will See on DFW Trucks
The profile on the truck matters because a piece that looks close enough may not suit the roof assembly or shingle edge. L-type, T-type, and F-type metal each create a different relationship between the roof deck, fascia, and water-shedding edge. Check the coil ticket and the actual shape before the crew starts cutting.
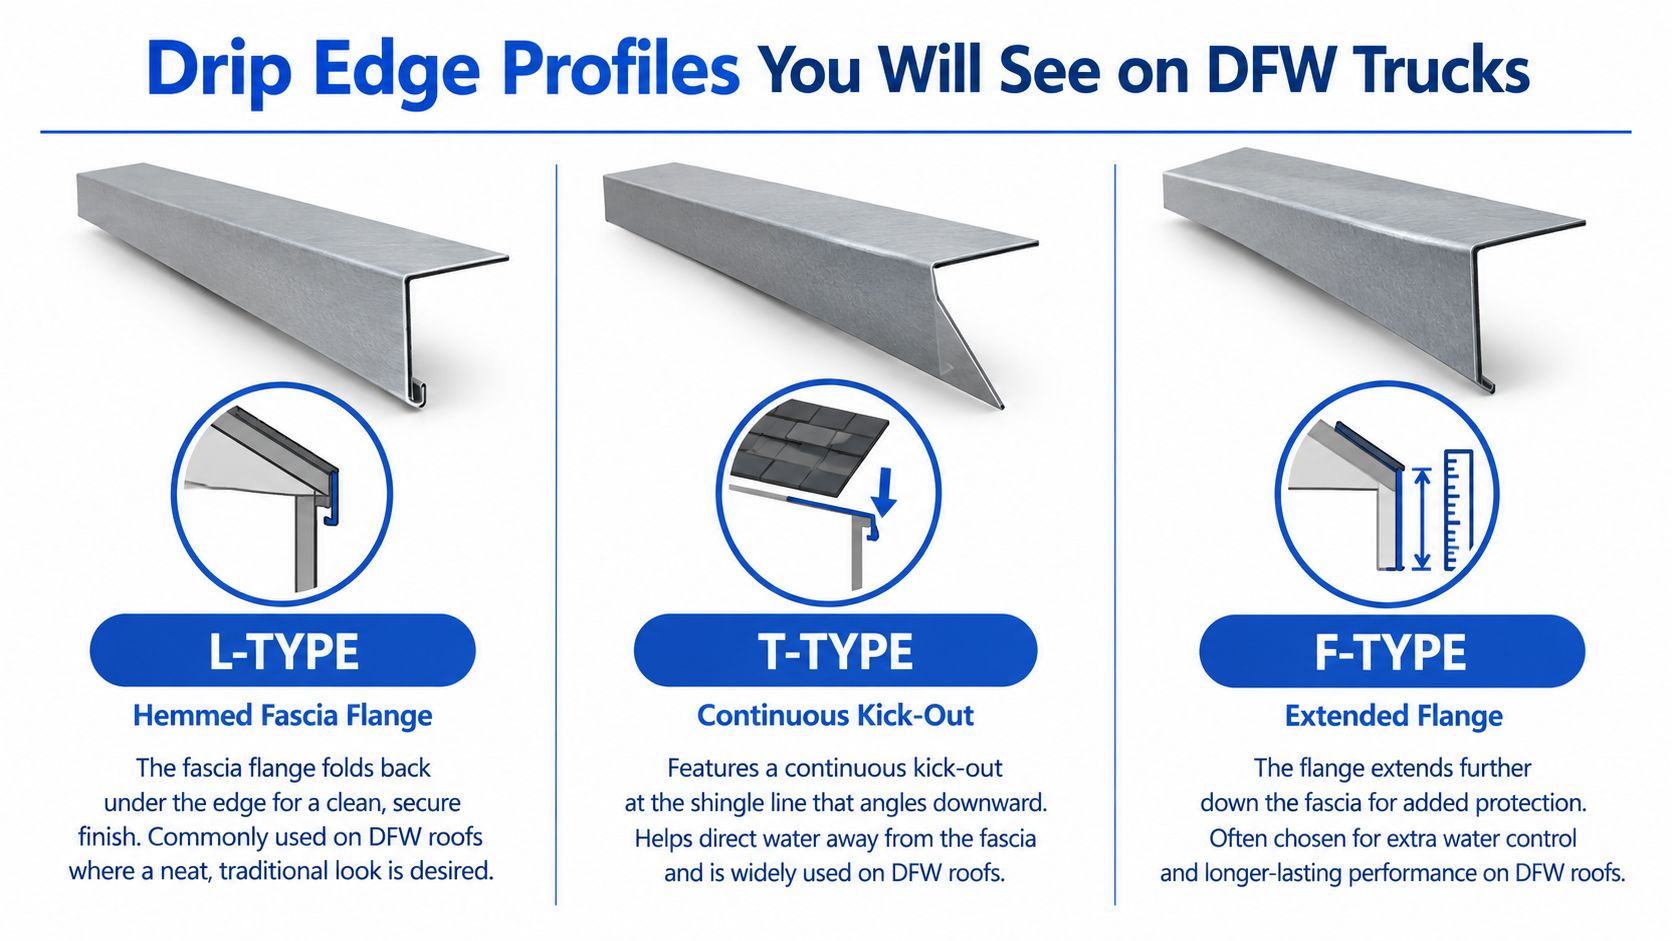
An L-type has a straightforward bent profile and is common on asphalt-shingle eaves and rakes. A T-type includes a kick-out at the shingle line that helps direct runoff away from the fascia. An F-type, often called an extended-flange profile, reaches farther down the fascia and may be specified for particular trim transitions. Don't assume a residential profile is suitable for a low-slope membrane edge. That assembly needs its own designed perimeter detail.
| Drip Edge Profile Comparison | Flange onto Deck | Vertical Face | Best Fit | Shingle Overhang |
|---|---|---|---|---|
| L-type | Verify the product and project detail | Hemmed fascia flange | Asphalt-shingle edges where the specified profile fits | About 1/4 to 3/4 inch beyond the vertical face |
| T-type | Verify the product and project detail | Includes a kick-out at the shingle line | Shingle edges where the specified profile fits | Flush with the face or up to about 3/4 inch past |
| F-type | Verify the product and project detail | Extended flange | Specified trim transitions, not a default membrane-edge substitute | Follow the roof-system and product detail |
The NRCA roof-system guidance gives different shingle-overhang ranges for L-type and T-type profiles. That distinction affects drainage and finish: too little projection can leave runoff tracking toward the fascia, while excessive projection can look untidy or miss the intended gutter line. Match the profile to the assembly, then confirm the shingle edge lands where the detail calls for it.
Fort Worth Code Numbers Crews Must Hit
On a Fort Worth shingle roof, an edge can look finished and still miss the code at a joint or deck return. The 2021 Fort Worth Residential Code sets measurable targets for eaves and rakes. The Fort Worth residential-code provisions require adjacent pieces to overlap by at least 2 inches, the metal to project at least 1/4 inch below the roof sheathing, and the deck flange to extend at least 2 inches onto the roof deck. Mechanical fasteners must be spaced no more than 12 inches on center.
Check the dimensions while the metal is exposed. A tape measure catches a short projection or deck return before underlayment and shingles cover the edge. Check each lap as the run goes in, too. One adequate joint does not make up for the next one being short.
Residential checks at the deck
Make this pass before the next layer hides the work:
- At the eaves and rakes: Confirm drip edge is installed at both roof edges.
- At every joint: Measure a lap of at least 2 inches.
- At the sheathing: Confirm at least 1/4 inch of projection below the edge.
- Across the deck: Measure at least 2 inches of flange onto the roof deck, as required by the 2021 Fort Worth residential code.
- At fasteners: Check spacing against the maximum of 12 inches on center.
For commercial shingle roofs, the Fort Worth IBC roof-assembly provisions use the same lap, projection, deck-return, and maximum fastener-spacing targets, with a 1 1/2-inch minimum vertical leg. That added dimension can be missed when crews carry residential specifications onto multifamily or larger-building work.
Fort Worth is a local reference, not a substitute for checking the jurisdiction on the permit. Arlington, Hurst, Benbrook, and nearby cities may have adopted later code editions or amendments. Confirm the governing code cycle before ordering or installing metal. The inspector will check the requirements adopted for that job, not a rule remembered from another municipality.
Over or Under the Underlayment by Edge
There isn't one universal “over or under” answer that applies to every roof edge. The Fort Worth 2021 code sequence puts underlayment over the drip edge at eaves and under it at rakes. The Fort Worth residential-code text sets out that distinction for residential shingle roofs.
Storm guidance adds a real-world complication. FEMA's 2025 sloped-roof fact sheet recommends placing eave drip edge above the underlayment to reduce the chance of wind-driven rain entering beneath the metal. Broader Building America guidance also notes that some authorities prefer underlayment over the eave metal to reduce water entry under the edge. The Building America high-wind guidance discusses that variation alongside attachment and projection considerations.
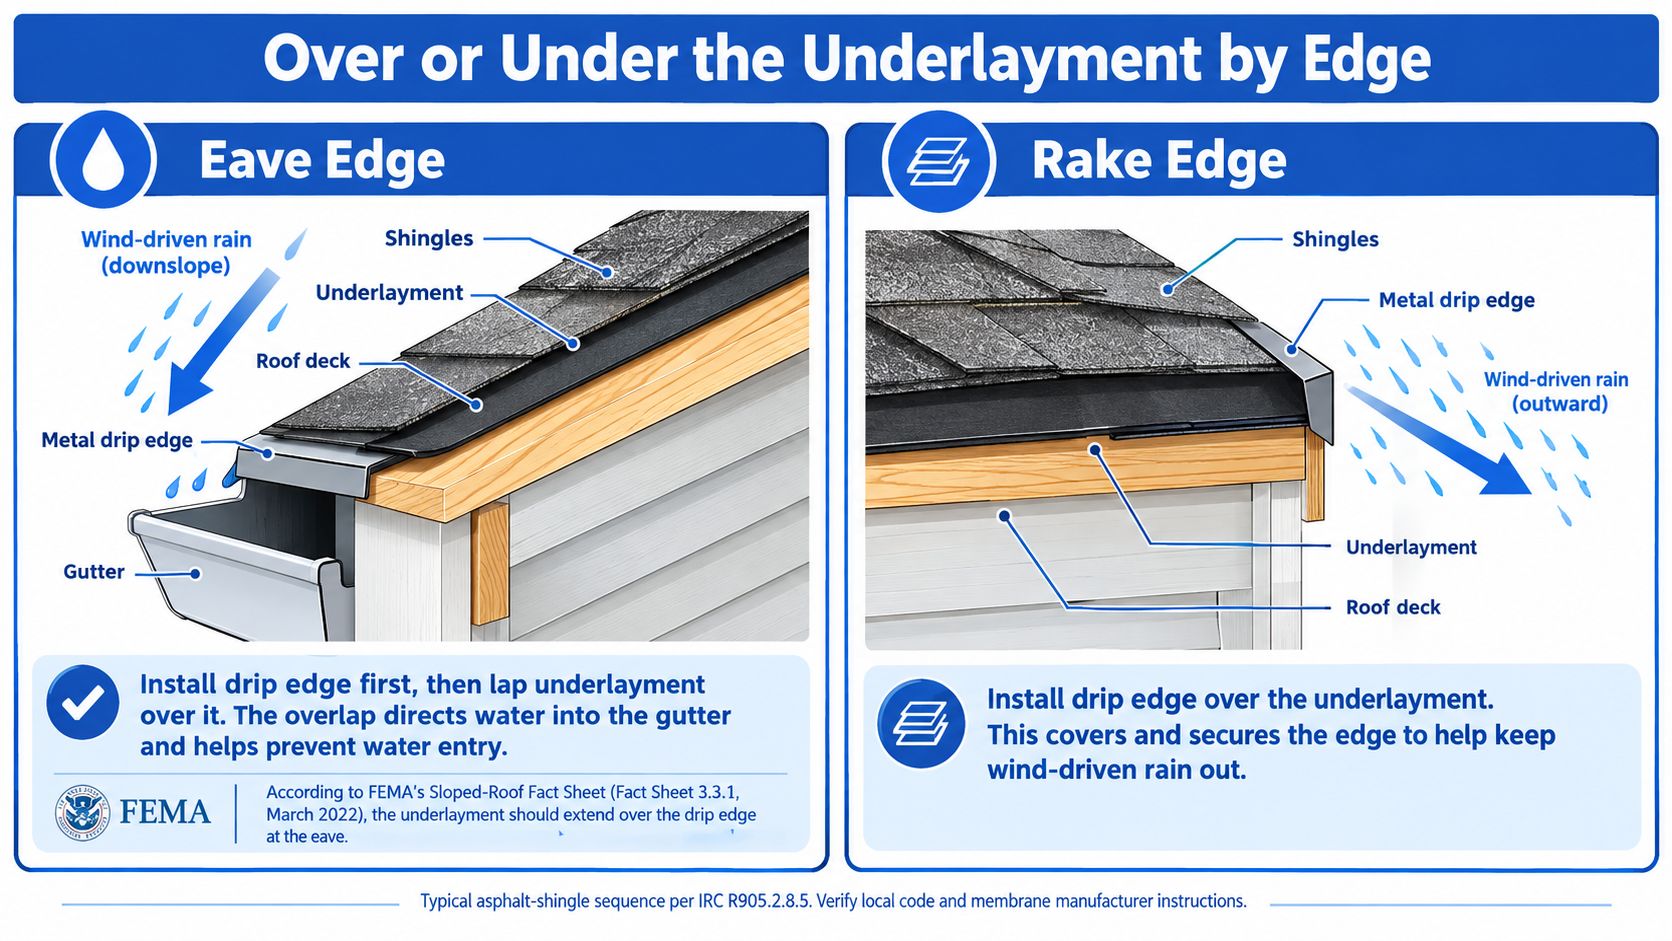
At the eave, the sequence affects whether water can reach the back side of the metal. At the rake, putting metal over the underlayment helps protect the exposed underlayment edge from wind. The right sequence depends on the adopted code, roof-system instructions, underlayment requirements, and the tested high-wind assembly. Crews shouldn't resolve a conflict by choosing whichever method they used on the last job.
Field decision check
Before laying the first course, compare the documents in this order:
- Confirm the adopted local code and any amendments.
- Check the shingle and asphalt-shingle underlayment instructions.
- Review the tested assembly or high-wind specification for the project.
- Confirm the agreed sequence with the supervisor before work is covered.
If the documents conflict, pause and resolve the detail rather than improvising at the roof edge. That small decision can prevent water entry and avoid a sequence-related inspection call-back.
A Repeatable Install Sequence for Crews
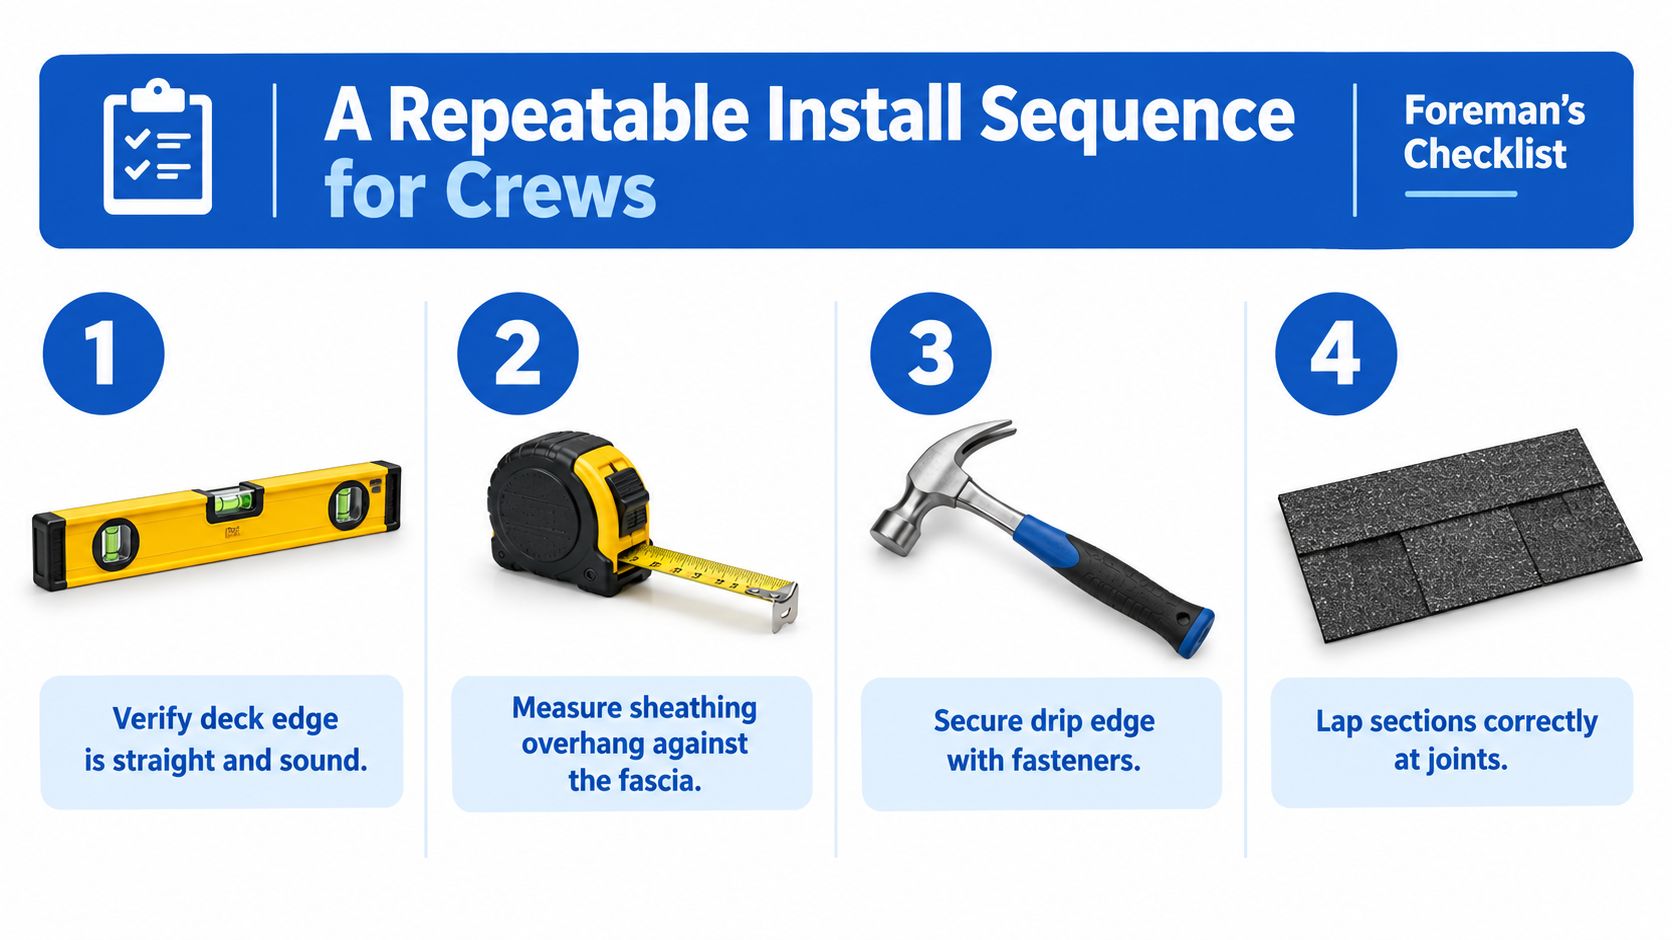
A dependable install starts with the deck, not the metal. On a Fort Worth duplex or an Arlington reroof, take a moment to confirm that the roof edge is straight and sound. If the sheathing is damaged or the edge line wanders, installing flashing over it won't correct the underlying problem.
Follow a sequence the crew can repeat, then adjust it to the adopted code, manufacturer instructions, and tested assembly. The Building America installation guidance gives a commonly used benchmark of at least 0.5 inch below the sheathing and at least 2 inches onto the roof. Fort Worth's code floor for projection below the sheathing is 1/4 inch, as covered above. Use the requirement that governs the job, not whichever measurement is easiest to remember.
Run the edge before the starter course
- Inspect the deck edge. Check that it's straight, solid, and ready to receive fasteners. Repair unsound sheathing before covering it.
- Measure the projection and deck return. Use the governing code and assembly requirements. Don't let a trim cut or uneven fascia leave the metal short.
- Choose the sequence by edge and assembly. Set eave and rake metal in the order required by the adopted code and project detail.
- Lap and fasten the pieces. Use the required overlap and spacing. In exposed or high-wind applications, the specified assembly may require fasteners at a maximum of 4 inches on center; follow its layout rather than defaulting to a general pattern.
- Set the starter strip. Keep it projecting approximately 1/4 to 3/4 inch beyond the drip edge, as appropriate to the profile and installation instructions.
FEMA warns that sealant doesn't replace proper lapping and recommends compatible or like-metal fasteners. Seal the upper seam with compatible flashing cement only where specified. If the lap is short or the fasteners are wrong for the metal, a bead of sealant won't turn the detail into a sound assembly.
Before shingles conceal the work, photograph the edge and record eave versus rake location, lap length, fastener spacing, deck engagement, starter-strip overhang, and sealant compatibility. For a visual reference on the adjacent wall condition, see this guide to installing roof flashing against a wall.
A short demonstration can help the crew review the handling sequence before the next install.
When a Residential Drip Edge Is the Wrong Part
An asphalt-shingle drip edge and a low-slope perimeter-edge assembly serve different roof systems. A strip of residential edge metal isn't a substitute for a tested edge detail on a TPO or modified-bitumen roof. For those projects, specify the coping, fascia, or gravel-stop assembly for the membrane and the applicable wind zone.
ANSI/SPRI ES-1 is the referenced performance standard for low-slope roof-edge systems in the International Building Code context, as noted in FEMA's low-slope roof-system guidance. FM guidance says to select perimeter-edge pressure resistance for the applicable roof zones and apply a 2.0 safety factor to resulting pressure resistances. The benchmark is a documented assembly with tested resistance that exceeds the project's design wind demand, not a generic nail pattern.
The crew also needs to check what the edge attaches to and how the membrane meets it. Confirm a continuous structural nailer or approved substrate, use the specified connectors, and maintain membrane continuity across the roof-edge junction. Where the attachment design requires restraint, install the specified peel-stop or equivalent, and verify the drainage paths remain open.
| Low-slope failure | Why it matters |
|---|---|
| Fastening into weak or discontinuous nailers | The edge lacks the substrate the assembly depends on. |
| Substituting untested edge metal | The replacement may not have documented resistance for the project. |
| Ending the membrane short of the edge | The roof covering may not remain continuous across the junction. |
| Relying on sealant for wind resistance | Sealant isn't a substitute for designed attachment and restraint. |
When the plans call for a membrane edge system, order the assembly that matches the roof and its tested requirements. Don't send a crew to a low-slope job with residential L-type stock and expect the installer to make it work in the field.
Pre-Shingle Inspection Checklist and Local Sourcing
Before the starter strip goes down, have the lead walk the edge and record what will soon be hidden. A quick photo set and a written check make inspection easier, help the crew catch a missed lap, and create a clear record of the installed detail for work in Forest Hill, Arlington, Hurst, Benbrook, and across DFW.
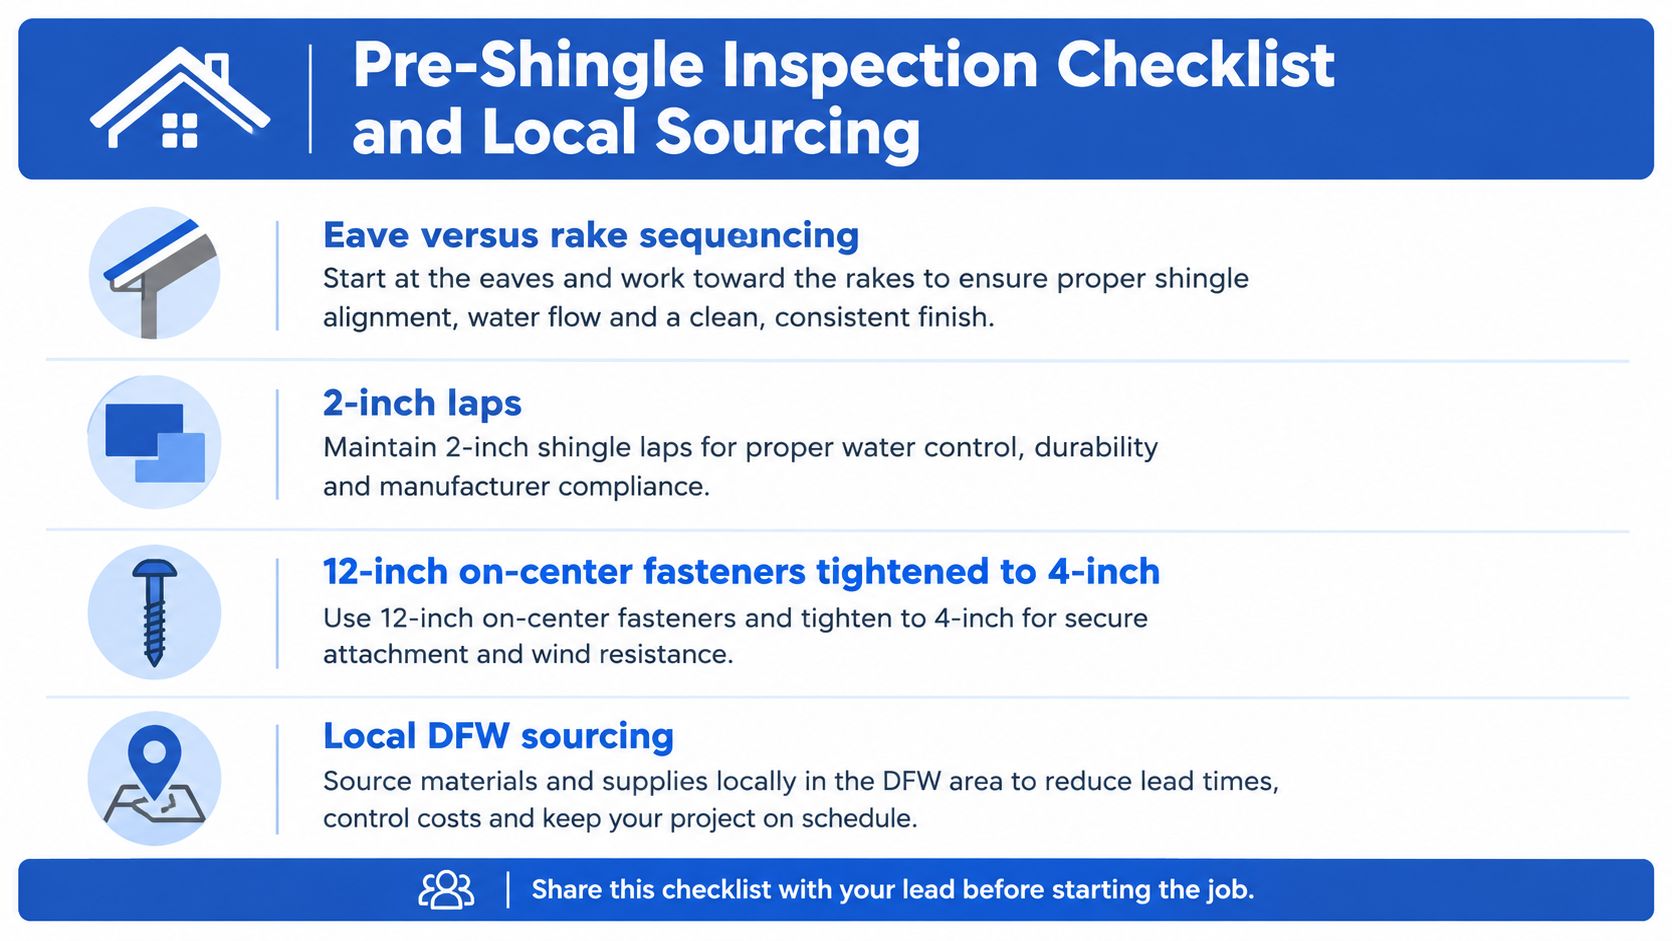
Foreman's pre-cover check
- Sequence: Record whether the eave and rake details follow the applicable code and assembly instructions.
- Laps: Confirm adjoining pieces overlap by at least 2 inches.
- Fasteners: Check the code maximum of 12 inches on center, tightening to 4 inches on center where the high-wind assembly requires it.
- Projection and return: Verify at least 1/4 inch below the sheathing and 2 inches onto the deck, or the stricter project requirement.
- Starter strip: Check the profile-specific overhang, typically 1/4 to 3/4 inch for the shingle detail.
- Compatibility: Document that fasteners and sealant, where used, are compatible with the metal and specified assembly.
Material thickness belongs on the order check, too. NRCA guidance recommends at least 26-gauge galvanized or prefinished galvanized steel, or aluminum at least 0.032 inch thick, for residential roof-system drip edge. If a coil ticket doesn't identify the material and thickness, get that clarified before the metal reaches the deck.
For DFW crews coordinating roofing, guttering, or other exterior materials, this guide to local guttering suppliers can help with sourcing. Keep the edge profile, finish, and required material thickness on the order notes so the crew receives metal that suits the job.
For your next Fort Worth, Forest Hill, or Arlington reroof, Blue Lake Roofing Supply can help source installer-grade roof-edge materials and coordinate jobsite-direct delivery across DFW, with same-day delivery often available for qualifying orders placed by noon. Visit Blue Lake Roofing Supply to discuss a trade account, contractor pricing, and the materials your crew needs for the next drop.