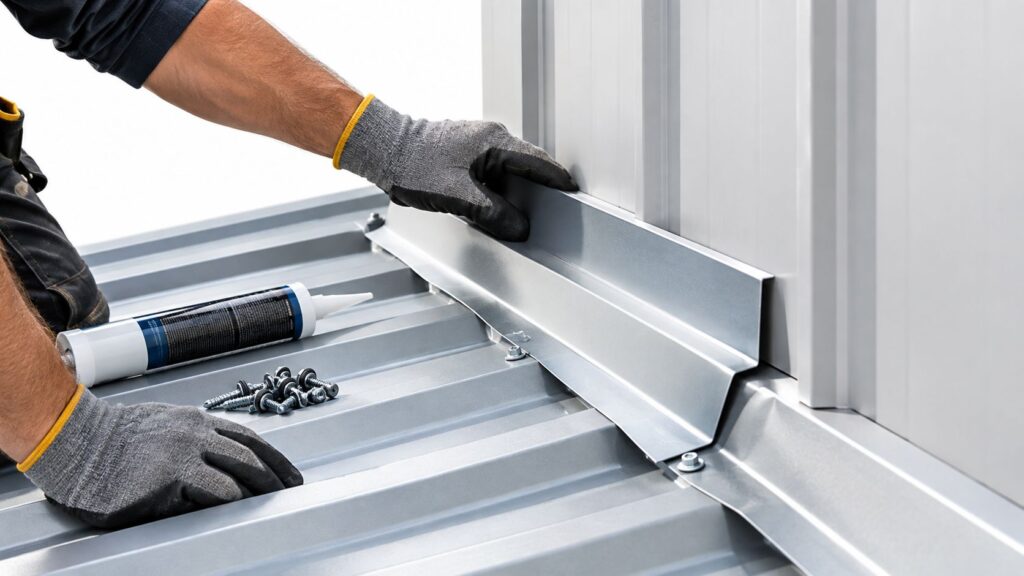
A bead of roof flashing caulk is often the first visible sign that the flashing assembly underneath it has already failed. Historic-building guidance warns that tar and caulking used as standalone flashing repairs may not last a year, while properly designed metal flashing and modern membrane systems are built to perform for far longer (Wisconsin Historical Society guidance on roof flashing). That distinction matters across Fort Worth, Arlington, Irving, Grapevine, Bedford, Euless, Southlake, and the rest of the Dallas-Fort Worth market, where intense heat, wind, storms, and constant thermal movement punish shortcuts.
For a roofer, the question isn't just which tube to buy. The underlying question is whether the caulk is sealing a sound detail or disguising missing overlap, bad geometry, corroded metal, or hidden moisture. Treat roof flashing caulk as part of a complete system, never as a substitute for one.
Table of Contents
- Why Roof Flashing Caulk Fails Before You Expect It
- Silicone vs Polyurethane vs Butyl for DFW Climates
- Compatibility Risks With Metal, Rubber, and Membranes
- Application Techniques That Last
- Code Requirements and Inspection Readiness in Tarrant County
- When to Reseal and When to Replace Flashing Instead
Why Roof Flashing Caulk Fails Before You Expect It
A caulk bead can be the most visible evidence that a flashing assembly is already failing. Caulk doesn't create flashing. Water-shedding details depend on mechanical overlap, drainage, fastening, correct sequencing, and compatible materials. Sealant supports those details at selected joints and penetrations. It cannot redirect water around missing, undersized, corroded, or badly positioned metal.
Roof flashing protects vulnerable transitions around walls, chimneys, vents, roof openings, and other penetrations. Metal flashings and rubber pipe boots form the working assembly. Tar or exposed caulking may close a gap for a short time, but the repair still depends on a bead exposed to ultraviolet light, Texas heat, wind-driven rain, and movement between different materials.
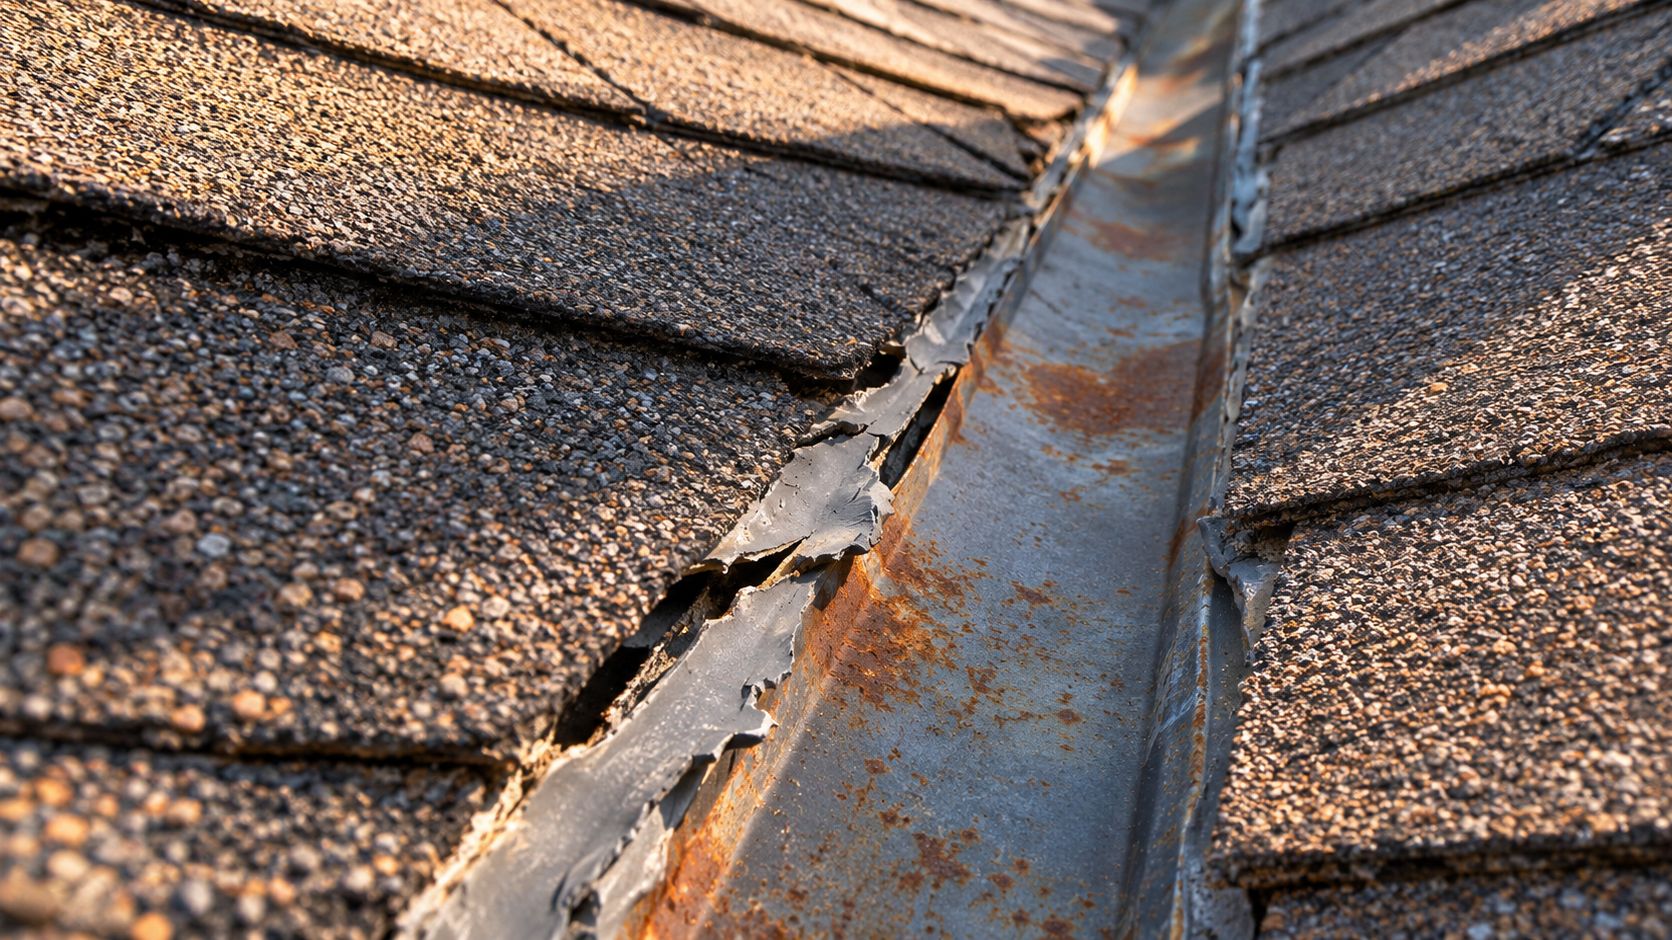
Field rule: If the flashing can't shed water without the caulk, the caulk isn't the repair.
What actually fails on DFW roofs
A cracked bead shows where water may have entered, not necessarily where the assembly failed. At a Fort Worth roof-to-wall transition or an Arlington pipe boot, the visible split can sit away from the opening that let water behind the roofing.
Check the detail before reaching for a tube:
- Insufficient overlap: Water travels through incorrectly lapped flashing pieces.
- Bad drainage: A flat or reverse-sloped detail leaves water against the sealant instead of directing it downslope.
- Missing kick-out flashing: Wall runoff can enter behind siding when the lower transition does not discharge water away from the structure.
- Rigid or undersized joints: Different expansion rates pull the bead from one or both bond lines.
- Deteriorated metal: Corrosion, pinholes, bent edges, and storm damage require more than a surface seal.
- Hidden leakage: Water can travel behind wall cladding or roof underlayment before appearing indoors.
The material used in the assembly matters. Reference material identifies rubberized asphalt as a common flashing material, while properly installed TPO systems can provide a 30-year lifespan (roof flashing material reference). Compatible sealants still have a place at selected details, but the membrane, laps, attachment, and geometry carry the system. An exposed caulk bead does not.
The callback problem
A reseal can look clean on the service date and survive a hose test while the roof is warm and dry. Later, substrate movement, surface dirt, or water behind the edge exposes the weak detail. DFW heat and storm-driven wind make that failure pattern especially common.
Before resealing, document the metal, fasteners, overlaps, pipe boots, wall intersections, and adjacent roof covering. Then make the call:
- Reseal when the metal is sound, the joint has the correct shape, the substrates are clean and compatible, and the caulk is supporting a functioning detail.
- Replace flashing when the bead covers missing overlap, poor drainage, corrosion, storm damage, a failed boot, or a pathway behind the assembly.
The right diagnosis prevents a cosmetic repair from becoming the next callback.
Silicone vs Polyurethane vs Butyl for DFW Climates
Caulk chemistry cannot rescue a failing flashing assembly. Silicone handles sunlight well, polyurethane moves and bonds aggressively, and butyl performs reliably in the right protected joint. Choose among them only after identifying the substrate, joint movement, exposure, and manufacturer approval. If the detail has no effective overlap, poor drainage, or damaged flashing, replace the assembly instead of selecting a stronger tube.
| Chemistry | UV Resistance | Movement Tolerance | Adhesion | Best Use Case |
|---|---|---|---|---|
| Silicone | Excellent | Good, product-dependent | Strong on approved clean substrates, weaker on dusty surfaces | Exposed joints where sunlight resistance and weathering matter |
| Polyurethane | Moderate unless protected or coated | High | Strong on many approved roofing substrates | Dynamic flashing joints, penetrations, and details requiring elastic recovery |
| Butyl | Good in protected applications | Lower than elastic sealants | Reliable on clean, dry metal | Embedded flashing, laps, and protected metal-to-metal connections |
Silicone
Silicone suits exposed joints around Dallas, Fort Worth, Grapevine, and nearby suburbs where ultraviolet exposure and weathering are major concerns. Its sunlight resistance does not compensate for poor surface preparation. Dusty galvanized steel, oxidized aluminum, and contaminated roof surfaces can defeat adhesion before the bead cures.
Silicone also creates a finishing limitation. Many formulations cannot be painted, which complicates color matching around metal trim, siding, and wall intersections. Use it when the product is approved for the substrate and the finished bead can remain unpainted. If the joint needs coating or the surface cannot be cleaned properly, choose another approved product or repair the detail first.
Polyurethane
Polyurethane is the stronger candidate when a sound flashing joint must absorb repeated movement. A professional-grade polyurethane flashing sealant is rated to ASTM C719 for ±35% movement, and its technical guidance requires the joint to be designed for that movement range (polyurethane flashing sealant technical sheet).
That movement capacity fits roof-to-wall transitions, pipe penetrations, and connections between materials that expand differently in Texas heat. The trade-off is ultraviolet exposure. Some polyurethane products need protection or coating, so follow the product's cure, preparation, and substrate requirements. Do not treat every polyurethane formulation as interchangeable.
Butyl
Butyl tape and butyl sealants work well where clean, dry metal meets inside a protected flashing assembly. They suit laps, transitions, and embedded components that receive mechanical support and limited direct exposure. Their lower movement tolerance makes them a poor choice for a large exposed joint that repeatedly expands and contracts.
For roofs in Bedford or Euless, clean the metal before applying butyl. Dust, release agents, oxidation, and moisture can turn a dependable material into a future leak path. Butyl should support mechanical overlap and proper fastening, never replace them.
Use the chemistry to support a functioning detail. If the caulk bead is hiding a failed assembly, replacement is the correct repair.
Compatibility Risks With Metal, Rubber, and Membranes
A sealant can bond strongly to one material and fail quickly on another. DFW crews regularly work across galvanized steel, aluminum, copper, EPDM, TPO, asphalt roofing, masonry, and painted trim. Each substrate brings a different surface condition and a different risk of staining, softening, corrosion, or loss of adhesion.
Galvanized steel can carry mill oils, oxidation, dirt, or old sealant. Aluminum may have an oxidized surface that needs preparation. Copper can react visually with adjacent materials and shouldn't be treated as interchangeable with coated steel. Rubber pipe boots can deteriorate from age and ultraviolet exposure, while EPDM and TPO membranes require products approved specifically for those membranes.
Check before you commit
Use the product technical data sheet, not the label's broad promise that the sealant bonds to “most materials.” Confirm the following before full application:
- Substrate approval: Verify the exact metal, rubber, membrane, coating, or masonry surface.
- Primer requirement: Some surfaces need a manufacturer-approved primer to achieve reliable adhesion.
- Solvent sensitivity: Keep solvent-bearing products away from materials that can soften, swell, or degrade.
- Staining risk: Test near copper, colored membranes, and finished wall materials before applying a visible bead.
- Movement rating: Match the sealant to the joint's expected thermal and structural movement.
- Cure conditions: Confirm whether the product needs a dry surface or can cure with limited moisture.
- Field test: Apply a small test area, allow it to cure, then check adhesion and substrate reaction.
A manufacturer-focused compatibility review is especially important on low-slope roofs, solar penetrations, and mixed-material assemblies. Guidance on roof waterproofing emphasizes that sealant selection depends on the materials, surface condition, moisture, primer requirements, and joint movement (roof waterproofing and detailing guidance).
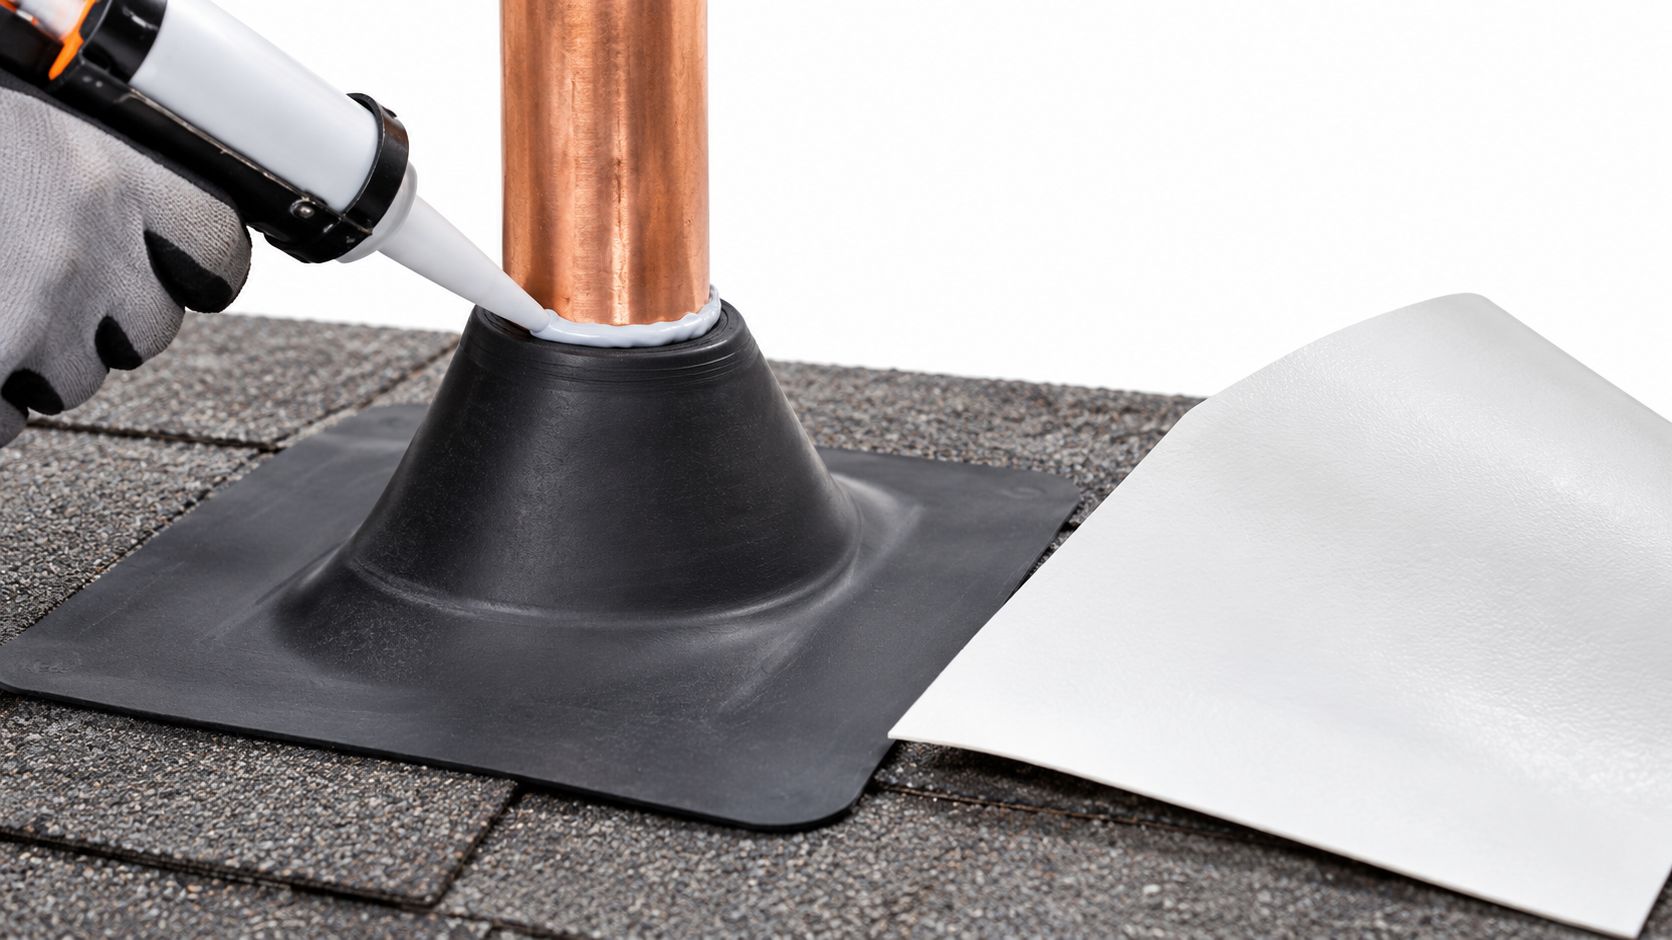
For corrugated panels, the profile controls how the flashing and sealant must seat. Review the details before sending a crew, and use a compatible roof flashing solution for corrugated roofing rather than forcing a flat component into a profiled joint.
Application Techniques That Last
Caulk rarely saves a failing flashing assembly. In DFW heat and wind, it often marks the point where a joint has moved, separated, or been installed incorrectly. Inspect the detail before reaching for a tube. Reseal a sound assembly with a failed surface bead. Replace or rebuild flashing when the metal, membrane, fastening, overlap, or drainage path is compromised.
Prepare the joint
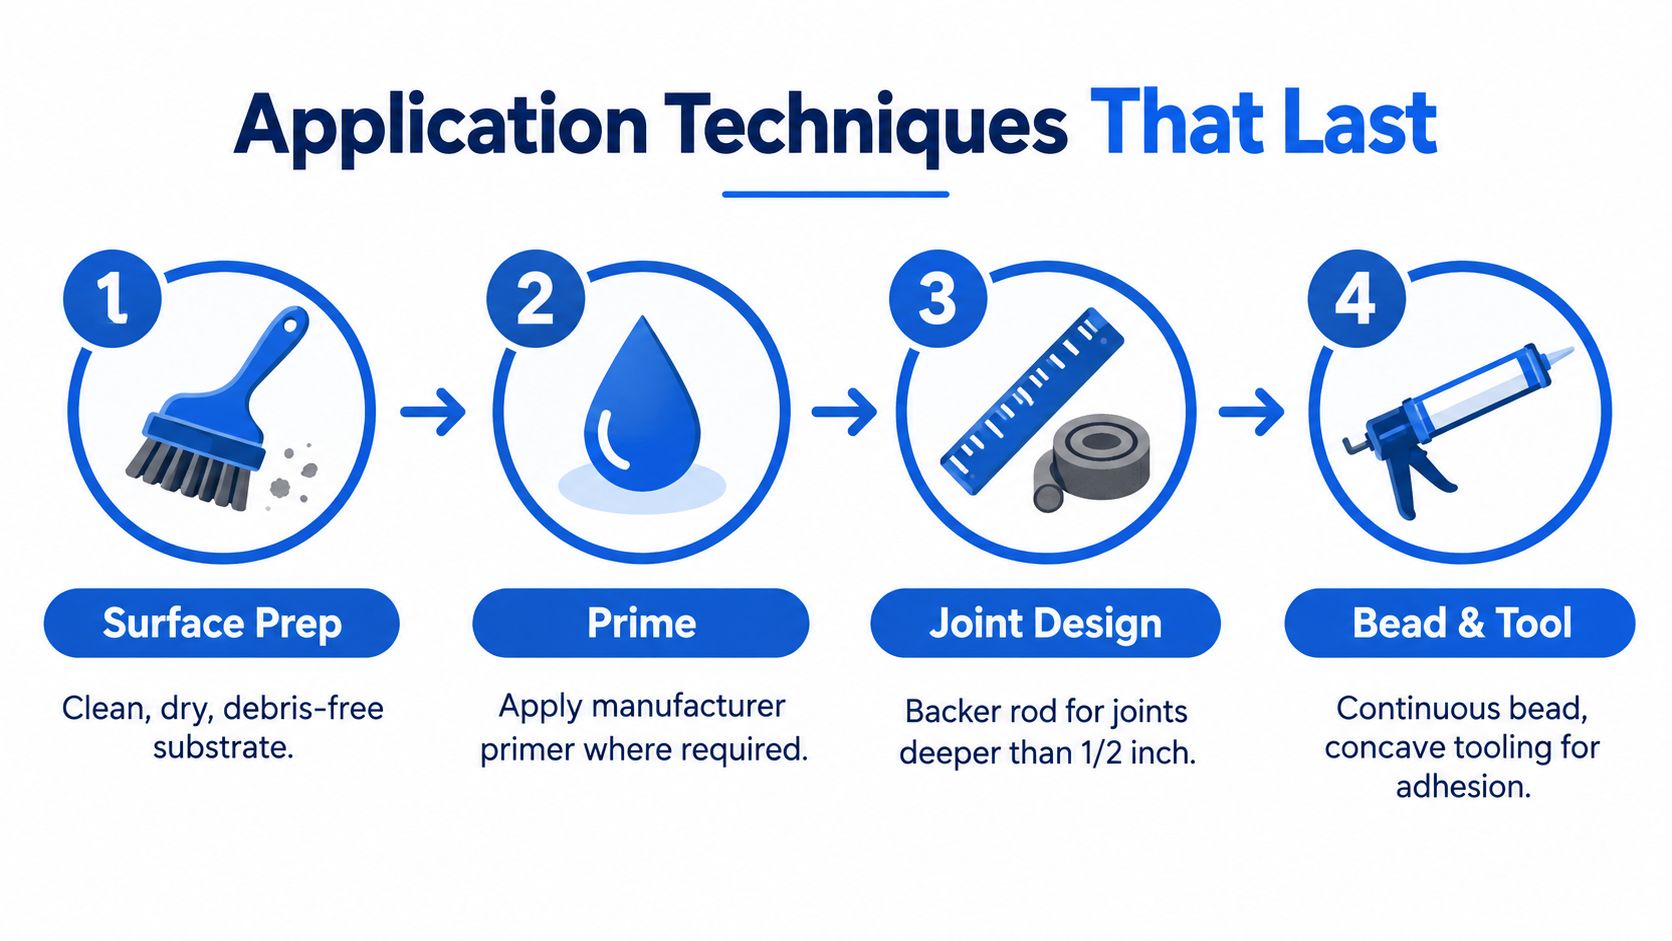
Remove loose sealant, dust, debris, oil, and brittle residue without cutting or tearing the flashing or membrane. Brush and wipe the bond areas until they are clean, dry, and stable. Moisture-sensitive surfaces must dry fully unless the selected product permits application to a damp substrate.
Prime only when the technical sheet requires it. Poor preparation causes adhesion failure, while an incompatible primer can damage the bond or substrate. Protect adjacent shingles, siding, and finished metal from smears that become difficult to remove after curing. If the flashing is loose or the substrate is deteriorated, stop sealing and correct the assembly first.
Build the joint for movement
A deep void needs proper geometry, not an oversized bead. Technical guidance for a moisture-curing flashing sealant specifies a joint width of at least four times the anticipated movement. For joints up to 1/2 inch, sealant depth should equal the joint width, with a minimum depth of 1/4 inch (roof flashing inspection and sealant geometry guidance).
For joints deeper than 1/2 inch, install suitable backer material so the sealant remains at the intended depth. Prevent three-sided adhesion and sagging into the cavity. A shaped joint gives the sealant room to stretch and recover instead of tearing at the edges as temperatures change. Review guidance on installing roof flashing against a wall before starting wall-transition work.
Apply and cure deliberately
Run one continuous bead with enough material to contact both sides of the joint. Tool it to a neat, slightly concave profile without thinning the edges. Correct gaps immediately. A break around a pipe boot or wall transition is a predictable leak path.
One moisture-curing flashing sealant lists a service range of -40°F to 180°F, elongation of 450% to 550%, an initial set of 60 to 90 minutes, and a full set in 24 hours (technical service and cure guidance). Those figures apply to that product's tested system, not every sealant on the shelf. Keep foot traffic, washing, and severe weather away until the manufacturer's cure requirement is met.
In Texas heat, inspect the joint again after curing. If the bead is covering movement, rust, lifted metal, or missing flashing, replace the defective detail instead of applying another layer.
Code Requirements and Inspection Readiness in Tarrant County
Caulk cannot make an incomplete flashing assembly compliant. The International Residential Code requires flashing at all roof-and-wall intersections, roof openings such as skylights, and penetrations through the roof covering. A code summary specifies corrosion-resistant metal at least 0.019 inch thick, approximately 26-gauge galvanized steel, or an approved nonmetallic material (IRC roof flashing code summary).
Use that requirement as your inspection baseline in Tarrant County. Before resealing, confirm that the flashing exists, uses an approved material, sheds water in the correct direction, and remains accessible where the design requires inspection. If a bead is hiding missing metal, poor laps, or a blocked drainage path, treat it as evidence of an assembly problem. Reseal only after the detail passes those checks.
Document the detail
Inspection readiness begins before the sealant is applied. Photograph concealed flashing before it is covered, record product and lot information when the project requires it, and keep the technical sheet available for the crew. The job file should show the overlap, fastening, wall termination, and sealant placement.
This documentation matters in Forest Hill, Grand Prairie, Arlington, and nearby communities, where project specifications and inspection workflows can differ. Code compliance and service life are related, but they are separate tests. A detail may pass a visual inspection and still fail early if the joint cannot accommodate movement or the materials are incompatible.
A clean file also helps crews apply one standard across the Dallas-Fort Worth market, from a Forest Hill repair to a commercial project near Dallas or a residential installation in Arlington. The Dallas Fed described the Metroplex as the fourth-largest U.S. metropolitan statistical area, with 7.4 million people in 2017 (Dallas Fed overview of the Fort Worth economy). Consistent records make concealed work easier to verify and make caulk less likely to conceal a failing assembly.
When to Reseal and When to Replace Flashing Instead
A reseal is appropriate when the flashing is sound, correctly installed, and fully accessible, while the sealant alone has cracked, shrunk, or separated. If the metal remains flat and corrosion-free, the overlap works, water drains correctly, and the substrate can be cleaned, a compatible new bead may solve the problem.
Replacement is necessary when the caulk has become a cover for a structural or detailing defect. The most common examples include missing kick-out flashing, continuous flashing used where step flashing is required, undersized transitions, rusted metal, damaged pipe boots, and moisture damage hidden behind apparently intact joints.
Three field decisions
Start with visual inspection, but don't stop at the surface. Check the uphill side of the detail, the back of the wall intersection, the edge of the flashing, and the roof deck or sheathing below when access allows.
- Reseal: The metal is intact, the joint has proper geometry, the old sealant is the only failure, and moisture readings show no continuing intrusion.
- Partially replace: One section is corroded, bent, or incorrectly lapped, but the surrounding assembly remains correctly installed and serviceable.
- Replace and investigate: Water has traveled behind the wall, the kick-out is missing, the flashing layout is wrong, or the roof deck and framing show moisture damage.
Use a moisture meter around interior stains and suspected wall transitions. Thermal imaging can help identify temperature patterns associated with wet insulation or concealed moisture, but it isn't a substitute for opening a questionable assembly. Photo documentation gives the homeowner and project manager a clear record of what the crew found before repair.
A Fort Worth homeowner with a ceiling stain below a wall intersection may only need resealing if the metal and drainage path are correct. A Dallas or Irving property with repeated staining after prior caulk work needs a more skeptical inspection. Pull the suspect material, trace the water path, and replace the defective flashing instead of applying another cosmetic bead.
The honest diagnosis is often less convenient than another tube of caulk, but it prevents the callback.
For exposed laps and transitions where a compatible flashing tape is appropriate, review the available roof flashing tape options before choosing a product. Tape, sealant, or replacement metal must serve the assembly's design. None of them excuses missing overlap or concealed damage.
The repair decision should also reflect the broader market shift toward system-level sealing. Advanced polymers, composite systems, and self-adhering flashing products are gaining attention, while one market projection estimates self-adhering roof flashing demand will grow 5% to 8% annually through 2035, with rooftop solar representing roughly 30% of global consumption (market projection for roof flashing materials). Those figures are projections, not guarantees, but the direction is clear. Contractors will increasingly need to specify complete, compatible assemblies around solar penetrations, low-slope interfaces, and mixed-material roofs instead of relying on exposed caulk alone.
Before the next Fort Worth, Arlington, or Southlake job, inspect the flashing first, identify the movement and substrate, and order the component that fixes the defect rather than hiding it. Blue Lake Roofing Supply provides roofing, flashing components, custom trim, membranes, and jobsite-direct material support across the Dallas-Fort Worth area, so visit Blue Lake Roofing Supply to source the right flashing system for the repair.