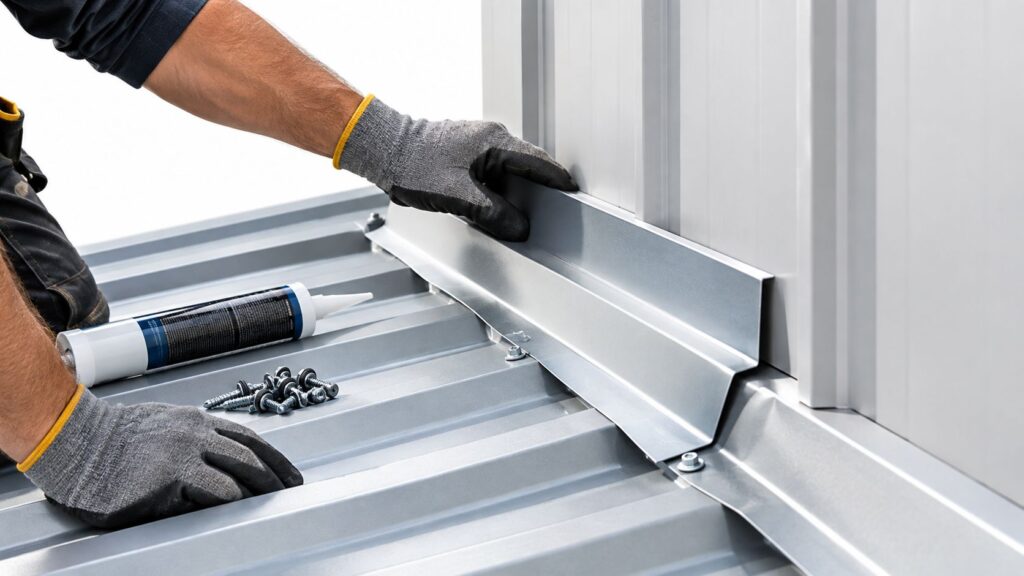
For standard asphalt shingles, 11- or 12-gauge nails with at least a 3/8-inch head and at least 3/4 inch of penetration into the wood deck are the floor, not the finish line. In the DFW metroplex, six nails per shingle is the right expectation when the wind demands it, because a four-nail habit can pass as routine and still fail when the roof gets tested.
A failed Fort Worth inspection usually starts with a small shortcut. The crew pulled the right bundle, set the guns, and still used the wrong fastener, the wrong length, or the wrong pattern, then the inspector found it before the wind did. I've seen that turn into rework, lost time, and a jobsite conversation nobody wants in Tarrant County.
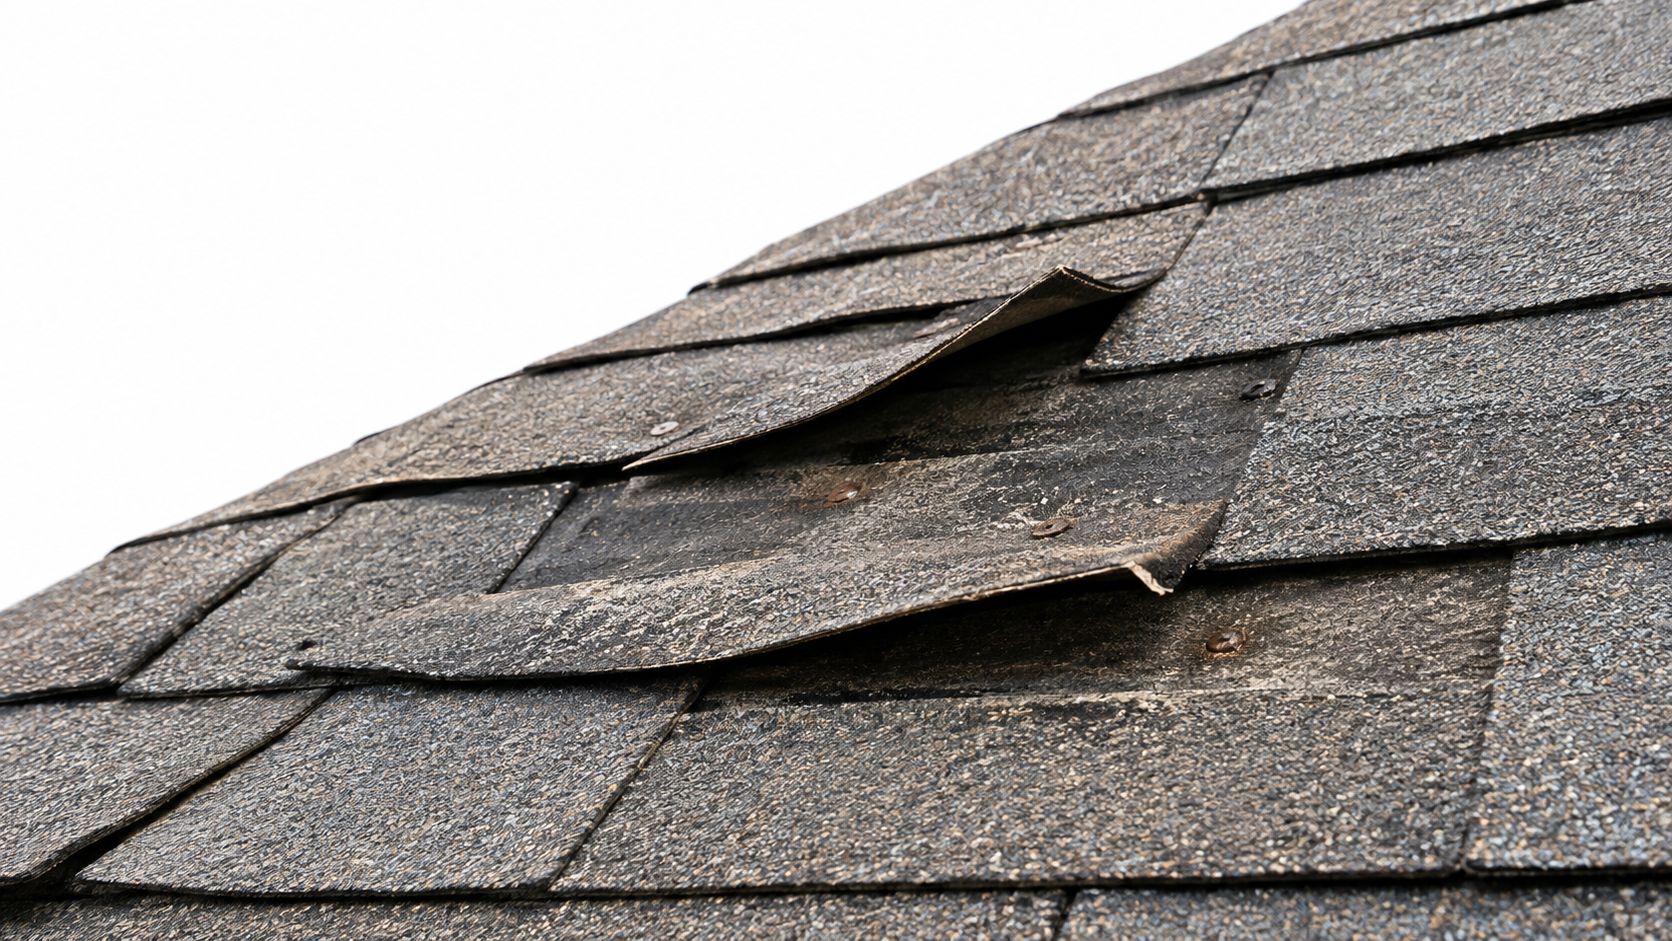
Table of Contents
- The Hidden Cost of Wrong Fasteners in DFW Roofs
- Essential Specifications for Asphalt Shingle Nails
- Calculating Nail Length and Penetration Depth
- Nailing Patterns and Fastener Placement Strategies
- Common Mistakes That Lead to Roof Failure
- Ensuring Code Compliance and Warranty Validity
The Hidden Cost of Wrong Fasteners in DFW Roofs
A roof can look fine from the street and still be one bad box of asphalt shingle nails away from a callback. That's the reality in Fort Worth, Keller, and across Tarrant County, where one storm can expose cheap fasteners, overdriven heads, and missed nail lines.
The inspection problem usually starts before anyone blames the shingles. Inspectors look at whether the fasteners meet the required gauge, head size, and corrosion resistance, and the roof can fail long before the workmanship debate begins. The NRCA roofing guidelines tie the fastening system to wind uplift resistance, and they also make clear that the governing code and manufacturer instructions decide the project-specific requirement.
What cheap fasteners really cost
Box price only tells part of the story. A fastener that bends, cuts through the mat, or corrodes early turns into hidden labor, because the roof still has to pass inspection and hold together through Texas wind.
Practical rule: if the fastener spec feels like a compromise, the callback will cost more than the box.
That is why the low-bid approach gets expensive fast in Dallas, Fort Worth, and nearby jobs in Arlington or Southlake. The roof may look finished, but a weak attachment system leaves the whole assembly exposed when the wind starts prying at edges and ridge lines. The right nail is part of the system, not an accessory.
Residential roofing materials for contractor crews
Essential Specifications for Asphalt Shingle Nails
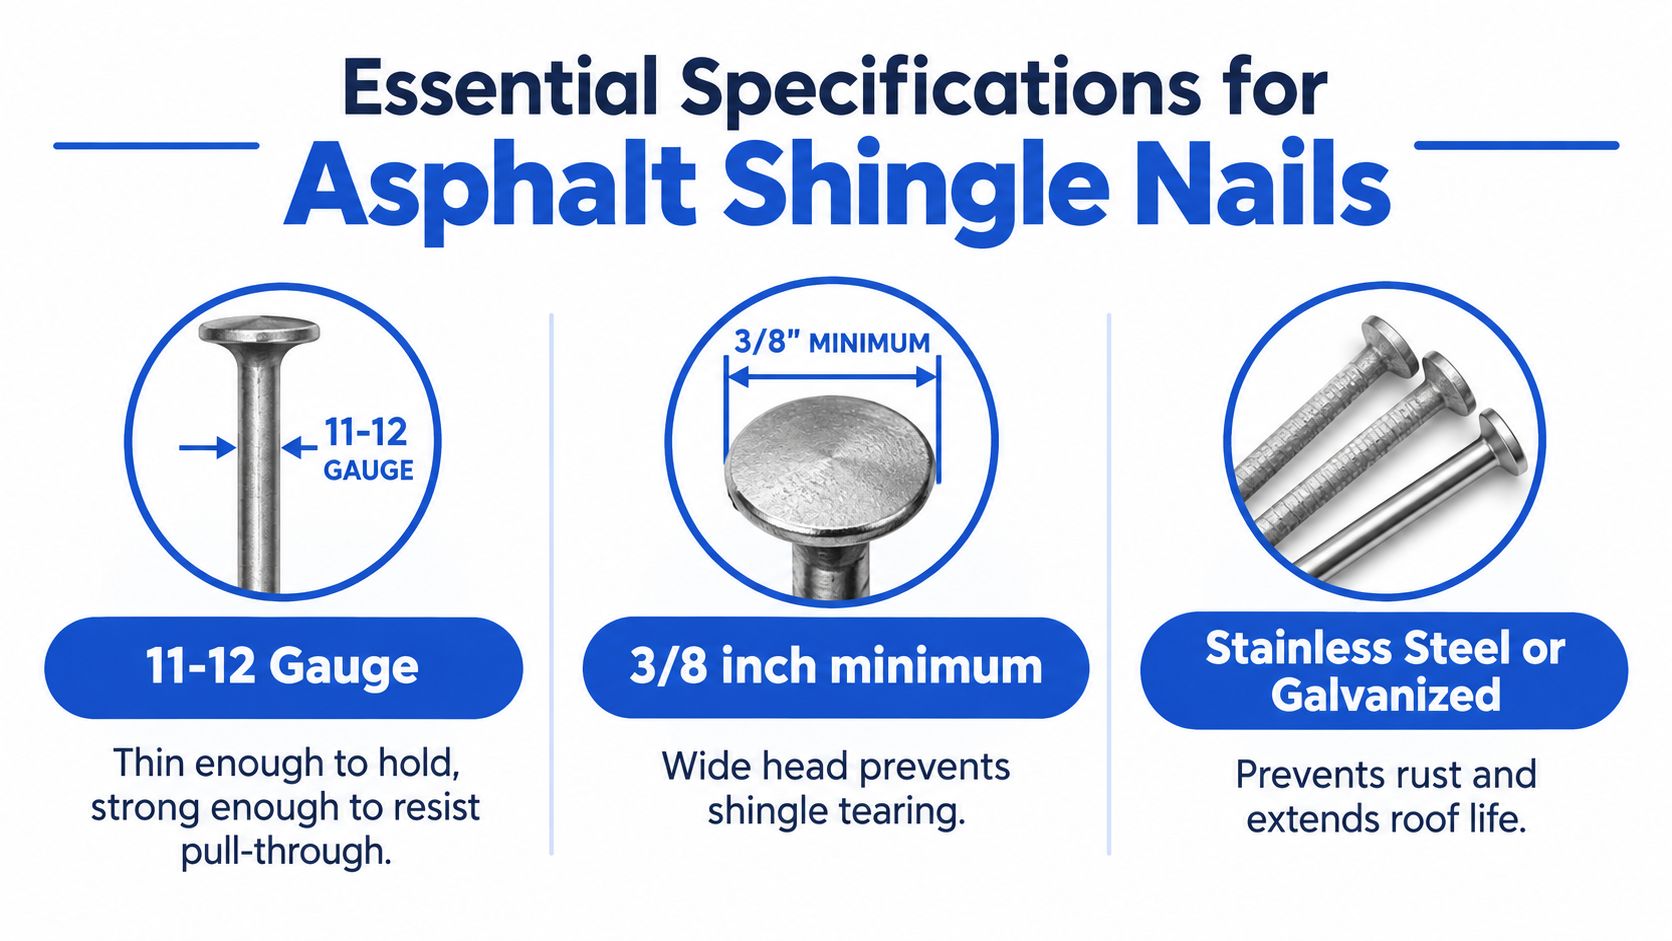
On a DFW roof, the wrong nail shows up fast. It slips, bends, or rusts, and the crew pays for it at final inspection and again when Texas wind starts working the edges. NRCA guidance points contractors toward round-headed, sharp-pointed roofing nails made from galvanized steel or another corrosion-resistant material, generally in 11- or 12-gauge sizes, with a minimum 3/8-inch head for asphalt-shingle work NRCA fastener guidance.
Gauge, head, and material all do a different job
Gauge controls shank strength and resistance to withdrawal. Head diameter matters because the nail has to hold the shingle without cutting through it, and corrosion resistance matters because a nail that deteriorates weakens the attachment system even when the roof still looks acceptable.
Treatments and deck conditions change the call. Some preservative-treated wood conditions call for hot-dip galvanized steel meeting ASTM A153, Class D, or stainless steel meeting Type 304 or Type 316 requirements. On a mixed roof in Tarrant County, that distinction matters because the fastener that works in one assembly can fail in another.
The cheapest nail in the bin is often the most expensive one on the roof.
What to look for at the supply yard
A crew buying for Fort Worth, Arlington, or Southlake should check the label, not just the box count. Look for the gauge, the head diameter, the finish, and the applicable fastener standard before the material leaves the yard.
The cleanest buying habit is simple. Use a supplier who can show the product details plainly, such as residential roofing materials for contractor crews, and reject any fastener that does not clearly state the gauge, head size, and corrosion-resistant finish. If those details are missing, the roof is already headed toward rework.
Calculating Nail Length and Penetration Depth
A shingle can be nailed tight and still fail the inspection if the fastener never reaches solid deck. In Keller, Grapevine, and the rest of DFW, that usually shows up after a windy day, when a cheap nail was just long enough to look right from the ladder but not long enough to hold the assembly together.
Start with the assembly, not the shingle
The right length starts with the whole stack. Asphalt Roofing Association technical guidance calls for the nail to account for every layer and still achieve at least 3/4 inch of penetration into the roof deck Asphalt Roofing Association technical guidance. If the deck is thinner than 3/4 inch, the nail should extend at least 1/8 inch through the underside so you know it actually engaged the deck Asphalt Roofing Association technical guidance.
That is the field test that matters. Measure the full assembly, not the bundle label. Shingles, underlayment, starter, flashing details, and any extra layer all eat up shank length before the point ever reaches wood. On a reroof with mixed deck thickness, one bay may need a different check than the next.
Why longer isn't automatically better
More length does not fix a bad setup. A nail that drives too far can telegraph through thin decking or create problems where the manufacturer and code want a specific fastening detail. The goal is clean engagement, not extra shank showing for its own sake Asphalt Roofing Association technical guidance.
Use a simple jobsite check:
- Confirm deck thickness before the first course goes on.
- Add every layer in the stack, including underlayment and starter.
- Recheck at eaves, valleys, ridges, and flashing transitions.
- Verify that thin decking still gets a clear exit where required.
- Pull a sample nail if the assembly changes from one section to the next.
Older fastening research even looked at 3/4-inch staples and found that six staples could replace four nails in some setups, which shows how much fastening geometry and count matter NRCA fastener guidance. Modern crews still rely on nails, though, because current code, warranty, and inspection work all depend on a fastening method that stays predictable under Texas wind.
Nailing Patterns and Fastener Placement Strategies
A roof can have the right fastener count and still fail inspection if the nails miss the proper zone. On DFW jobs, that means the pattern has to be deliberate from the first shingle, not corrected after the crew is halfway across the slope.
Placement beats guesswork
FEMA guidance says nails need to land in the manufacturer's nailing zone or nail line so the fastener catches the underlying shingle in the headlap area FEMA wind and water guidance. Put the nail too high, too low, or into adhesive strips, and you weaken the attachment and the seal at the same time.
That is where rework starts. The count may look right on paper, but if the heads drift out of position or the gun pressure changes from one run to the next, the roof will not pass a close inspection. Pneumatic tools need careful adjustment, because too much air can overdrive the heads through the shingle, and hand-driving is sometimes the safer choice when fastening has to be exact FEMA wind and water guidance.
Practical rule: flush is the target, not sunk, not proud, and not buried through the mat.
Four nails is a baseline, six may be required
Asphalt Roofing Manufacturers Association guidance lists four nails per shingle as the usual baseline, but high-wind locations and manufacturer instructions can call for six nails per shingle ARMA nail application guide. On a Dallas, Fort Worth, or Plano roof, the approved installation instructions control the fastening pattern, because a code minimum does not always match the warranty requirement.
The field check is straightforward:
- Find the nailing zone on the shingle being used.
- Drive straight so the nail stays perpendicular to the roof plane.
- Set the head flush with the shingle surface.
- Follow the manufacturer's fastening schedule before assuming the minimum is enough.
That checklist matters on final inspection. A crew can meet a minimum count and still lose the job if the pattern does not match the product instructions, and Texas wind will exploit every nail that is out of place.
Common Mistakes That Lead to Roof Failure
The worst fastening mistakes are usually the quiet ones. An overdriven nail can cut through the shingle mat, and an underdriven nail leaves the head proud enough to block sealing and create a weak point in the roof.
The mistakes inspectors catch
A nail set too deep damages the shingle. A nail left too high does not clamp the material the way it should. A nail placed outside the proper zone reduces wind resistance even when the count looks fine on a quick walk-through.
The material choice can fail too. Near flashing details, crews also need to respect metal compatibility so they do not create avoidable corrosion problems. Keep a roll of roof flashing tape for detailing jobs on hand for the spots where the assembly needs clean, dependable reinforcement.
A jobsite checklist that keeps crews honest
- Set the gun correctly: Test depth on scrap before the crew runs the roof.
- Watch the head height: Every row should look consistent from the deck line down.
- Check the nailing zone often: Do not assume the operator stayed centered all day.
- Inspect penetrations near flashing: Valleys, vents, and edges deserve a slower look than open field courses.
- Confirm the count matches the job: A roof that passes by eye can still fail if the fastening pattern does not match the product and the wind exposure.
The mistake I see most in Tarrant County is speed without verification. A crew tries to save time, overdrives part of a course, then spends more time fixing it than they would have spent doing it right the first time. On a roof, fastener depth is not a detail. It is the difference between a system that locks down and one that starts failing when the weather turns.
Ensuring Code Compliance and Warranty Validity
A DFW roof passes only when the fasteners, the code, and the manufacturer all line up. On jobs in Dallas, Fort Worth, Arlington, and the rest of the Metroplex, that means verifying the fastening schedule before the first bundle hits the deck, not after an inspector calls it out.
The job starts with paperwork, then moves to the roof. Pull the shingle instructions, confirm the local code and wind requirements, and make sure the underlayment matches the assembly. If the job needs a refresh on that layer, review the asphalt shingle underlayment before materials get staged. Keep those documents with the job file so the crew, inspector, and warranty reviewer can all see the same spec.
ARMA technical guidance sets four nails per shingle as the baseline for most asphalt shingles, and manufacturers can require more in high-wind work. The important part is not just count. Nails still have to land in the manufacturer-designated nailing zone and sit flush without tearing the mat ARMA nail application guide.
FEMA's wind and water guidance makes the field discipline plain. Use the right nailing zone, keep pneumatic depth under control, and stop the gun from turning a clean fastener into a damaged one FEMA wind and water guidance.
What to verify before the crew unloads
Use this on jobs in Irving, Plano, and the rest of the Metroplex:
- Confirm the manufacturer instructions and keep them on site for inspection.
- Check local code first so the crew is not working from memory.
- Match the fastener to the deck before the first bundle is opened.
- Verify corrosion resistance where treated lumber or flashing details are involved.
- Set a communication point with the inspector so any question gets answered from the same paperwork, not from guesswork.
- Register the warranty on time and save the product labels, lot numbers, and install photos in the job file.
The safest habit is still the same. Read the shingle spec, read the code, check the deck, then buy the fastener that fits the assembly instead of the one that only fits the budget. That is how a roof gets through final inspection and stays ready when Texas wind starts working on it.